

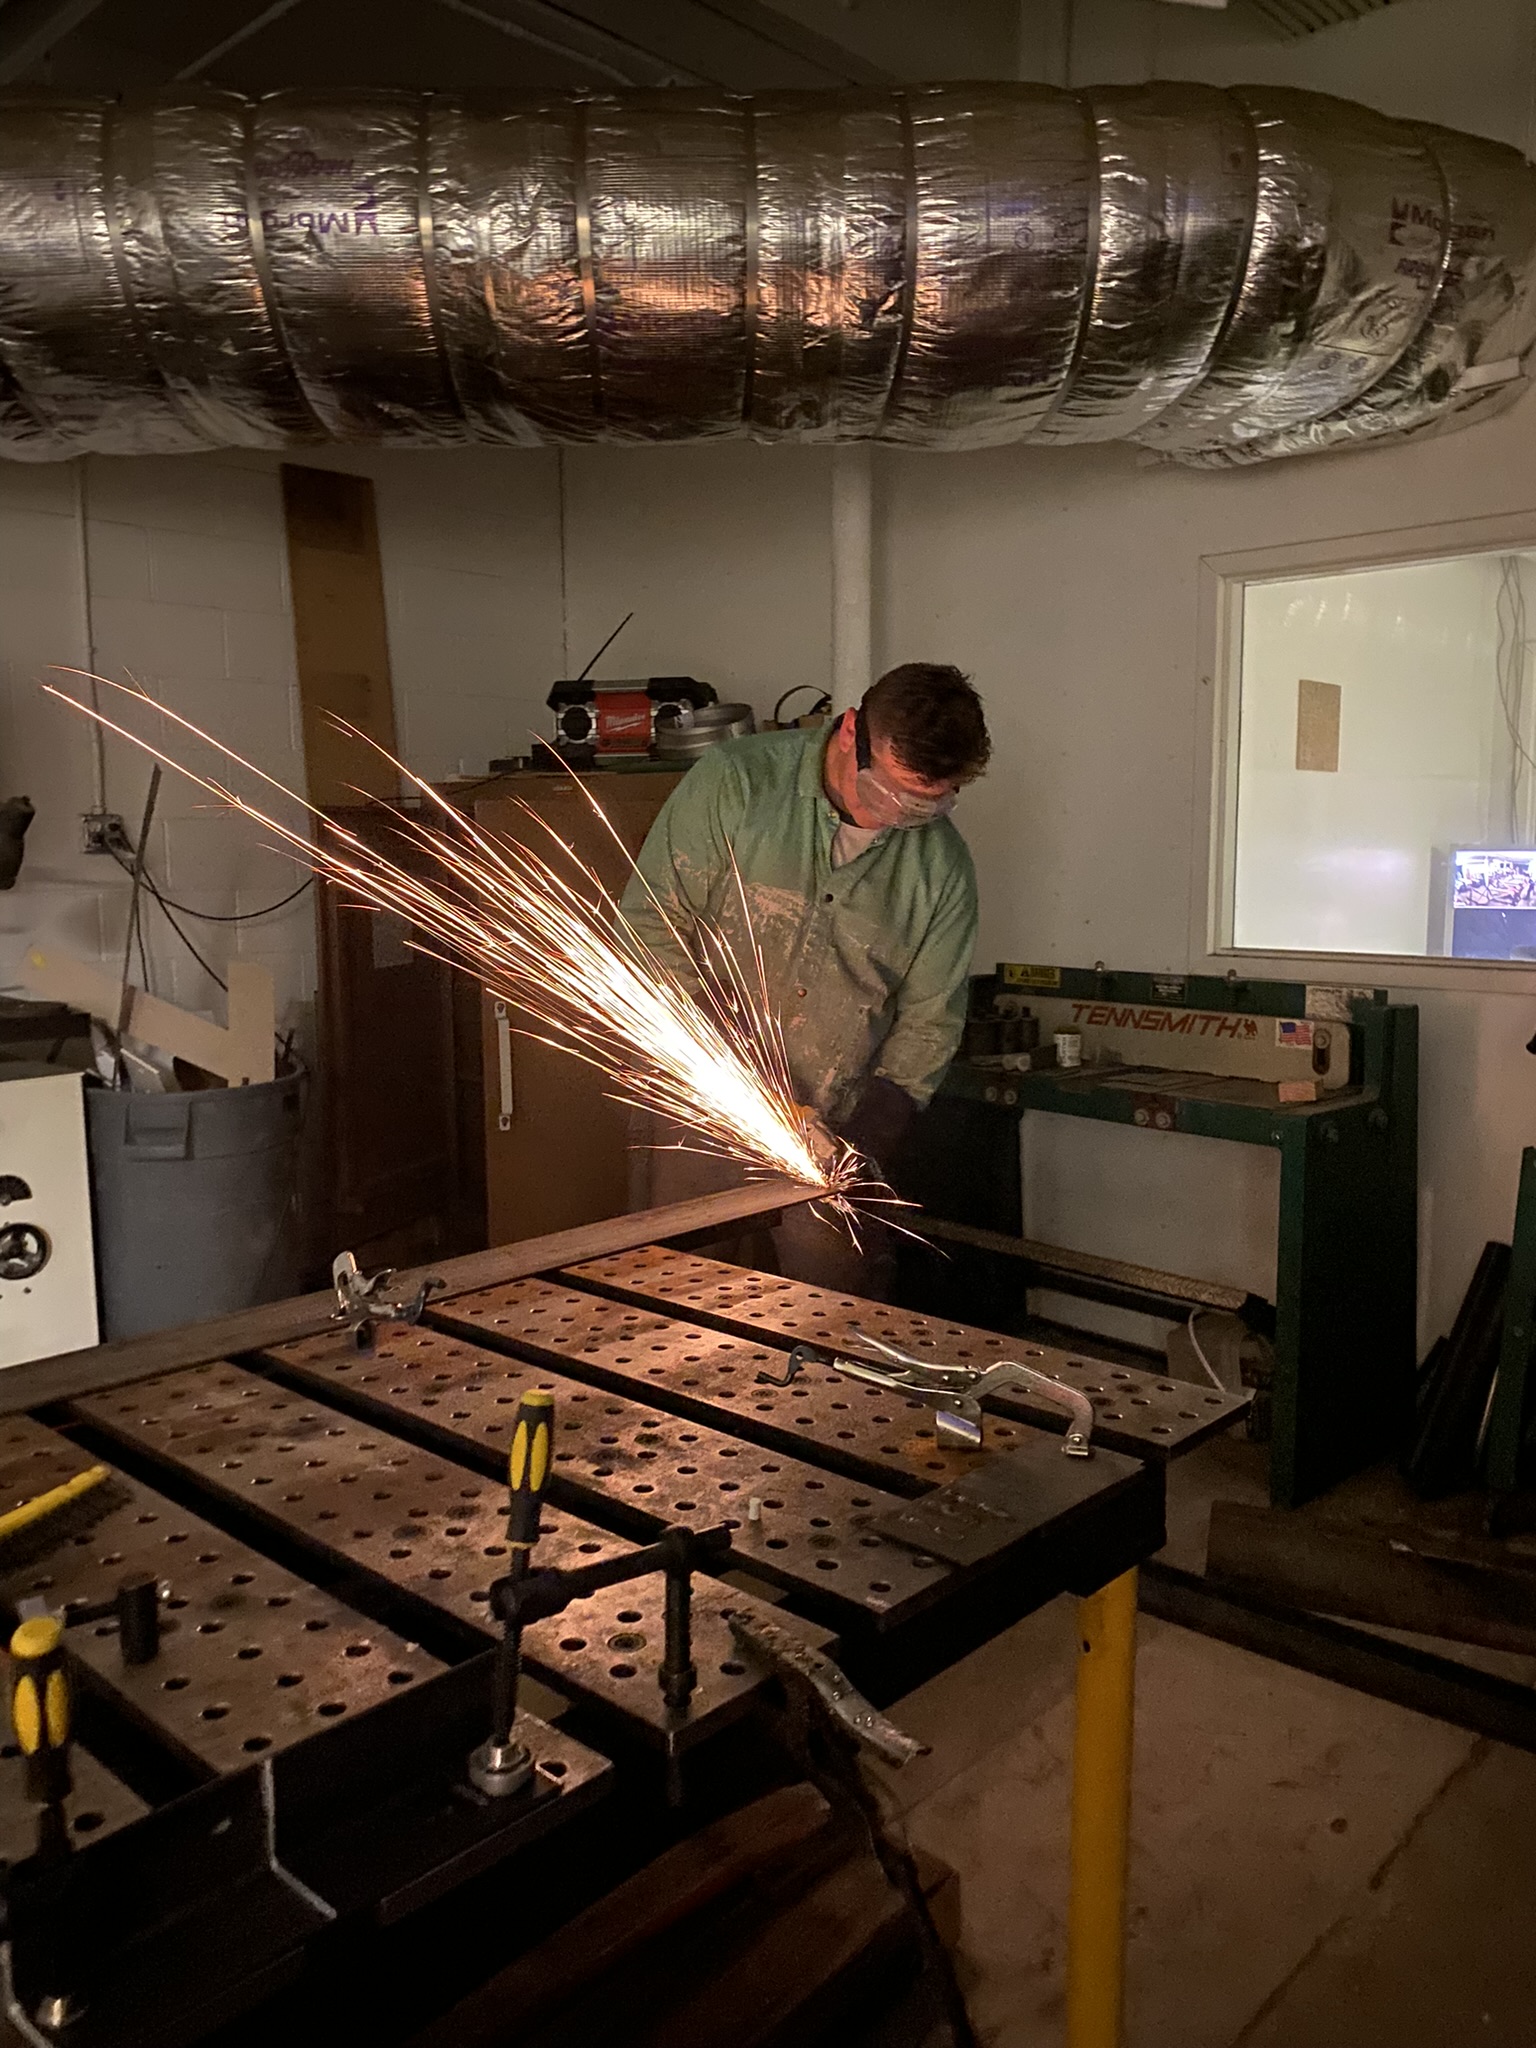
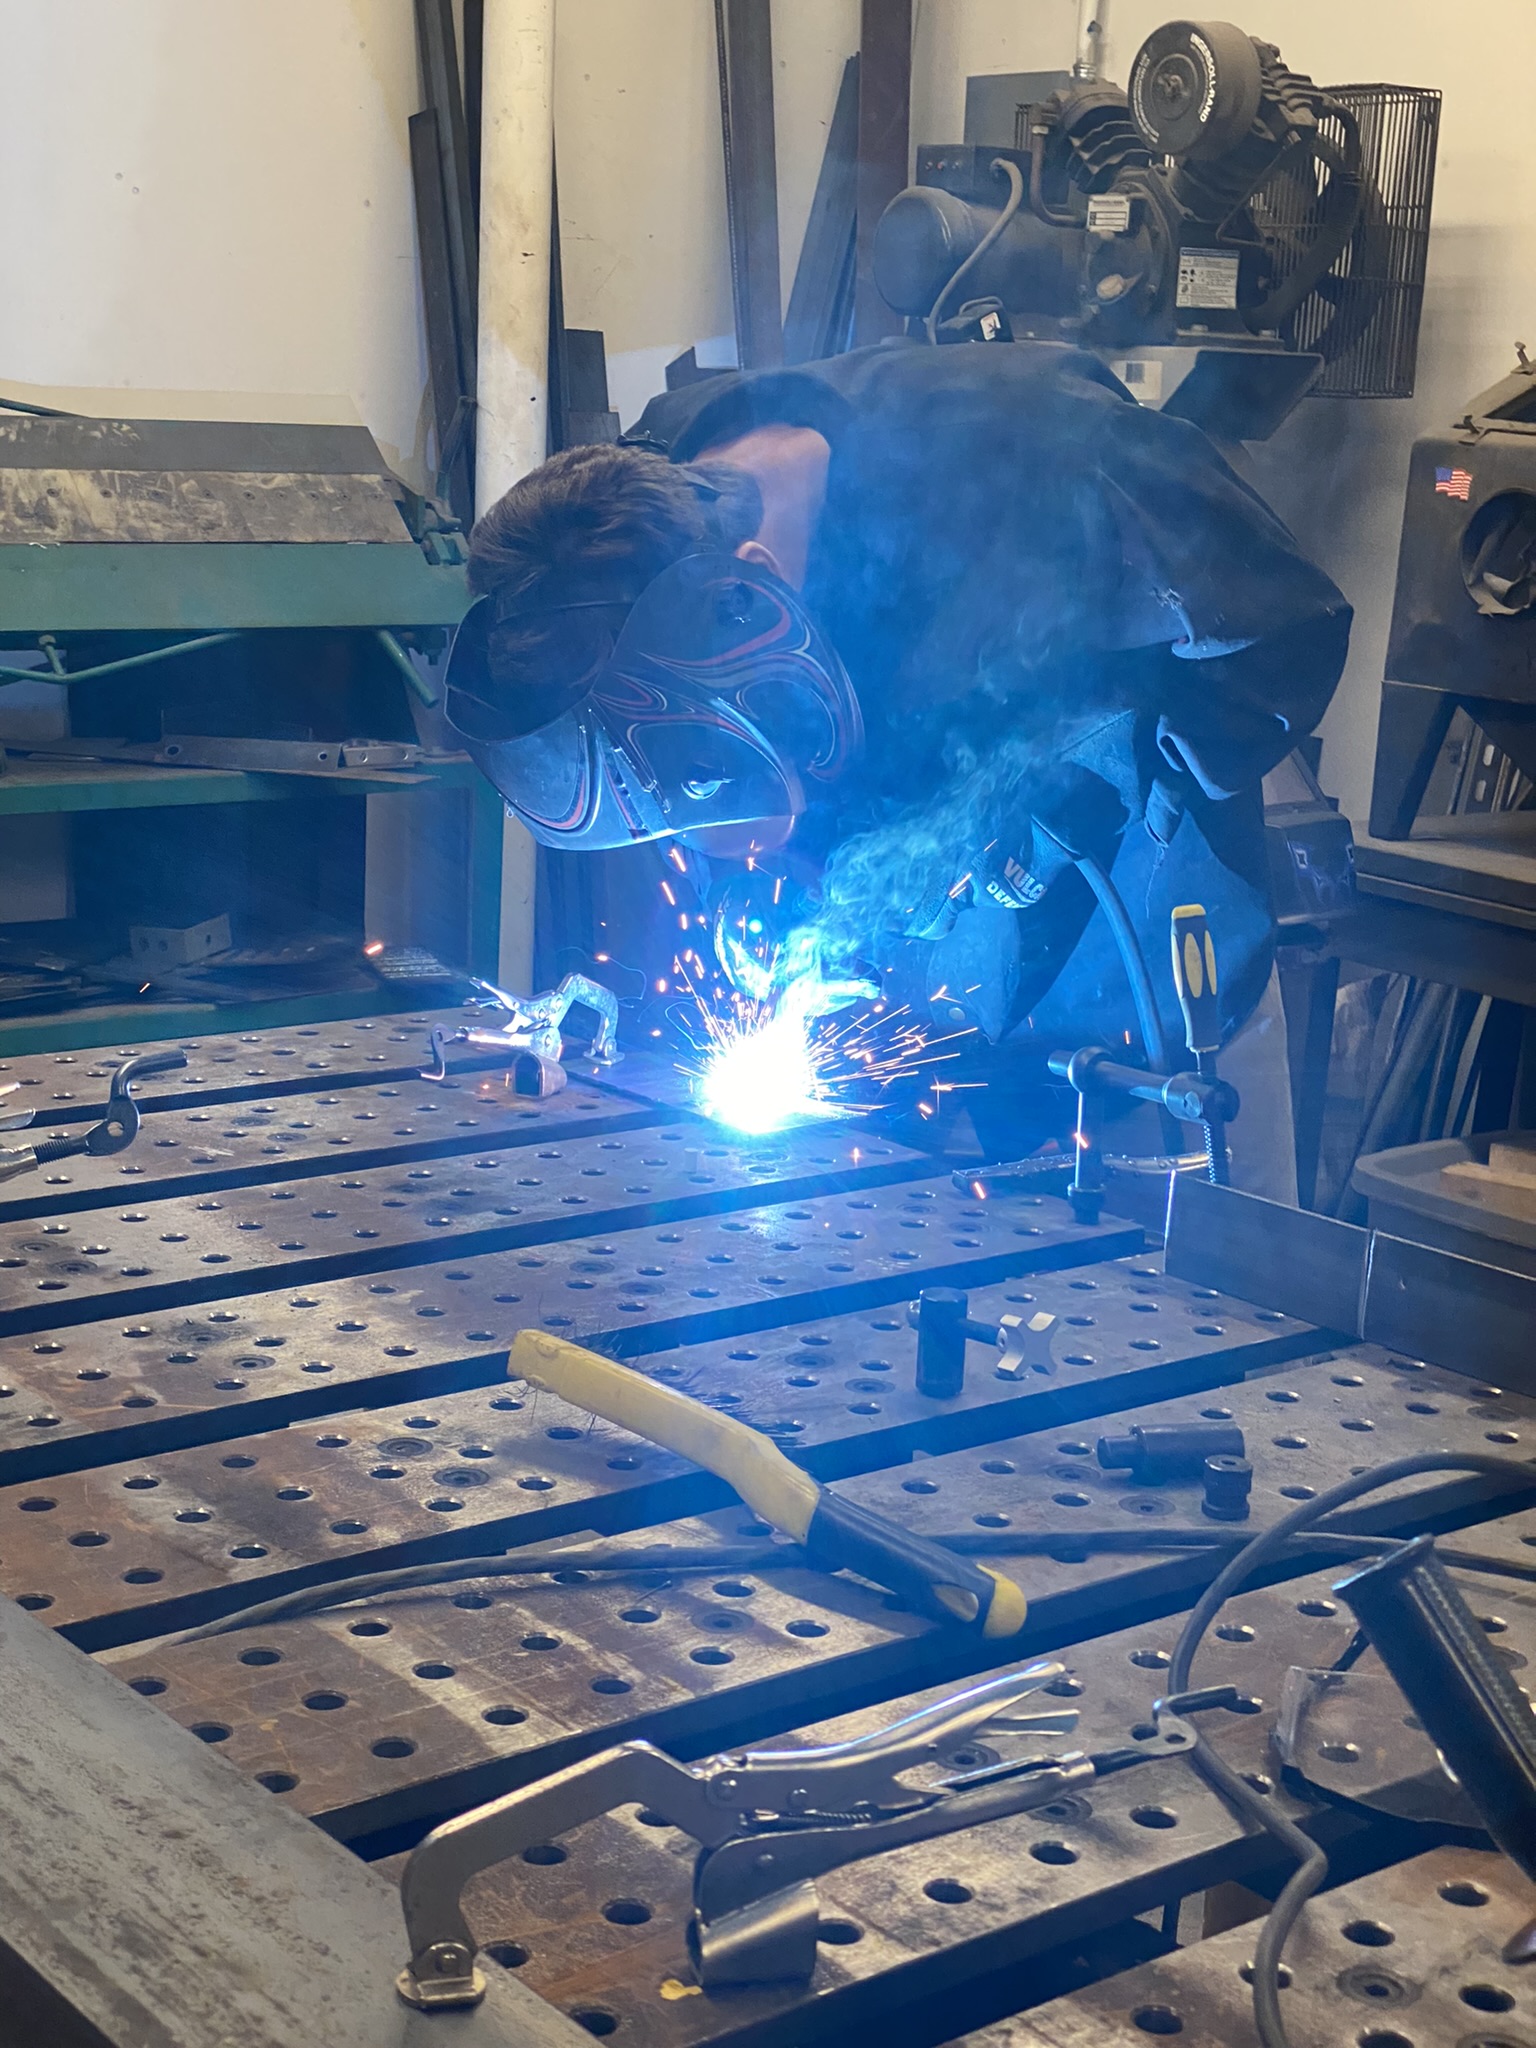
Over the last few days, I have focused on practicing welding with my classmates in preparation for welding the ½” steel rods which secure the sides of the bridge together. After practicing with scrap pieces of metal, we felt ready to move on and weld the steel rods together. We started the process by measuring and determining the lengths which each rod needed to be and cut them to size. Due to the size of the metal we ordered we needed to weld together 20 pieces of 7’ 10” rods to 4’ 5” rods. The first step before welding was to chamfer the edges of the rods so that the steel rods could be welded together through to the center of the rod.
Unfortunately, after welding several of the 8’ and 5’ rods together, we noticed that our first rounds of welds did not weld through entirely and the connection was not strong enough. Several of them broke when transporting from the welding room to the bridge in our shop. We are now in the midst of correcting the problem and re-welding each piece together again.
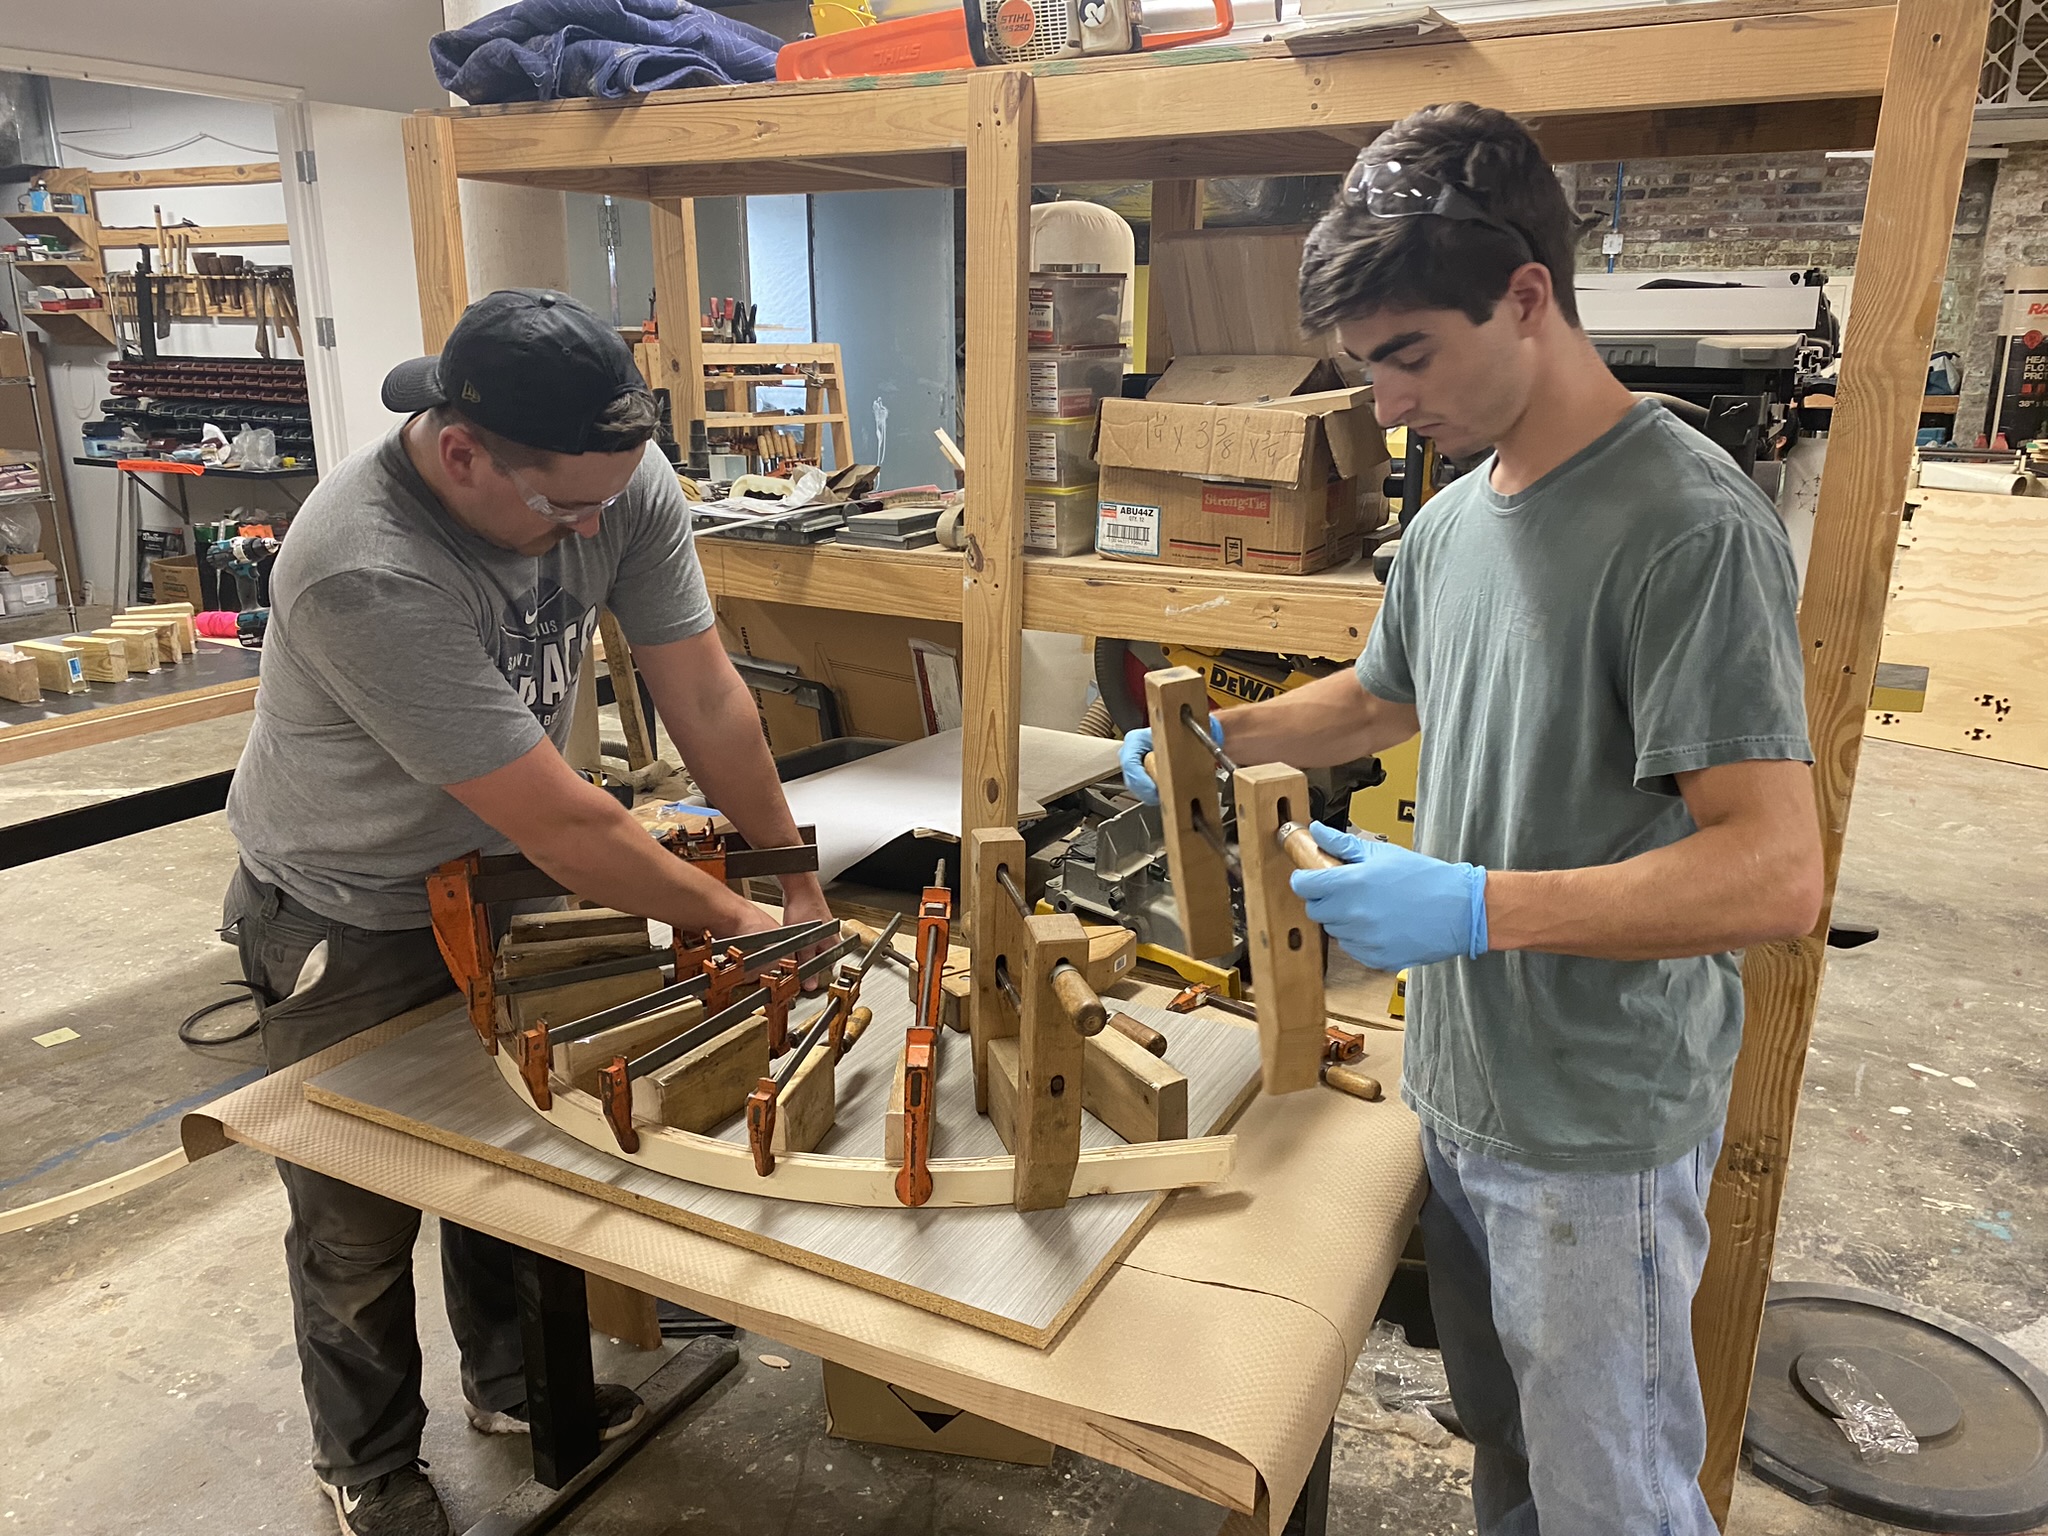
Outside of Community Build in our ITC course we are working on our second project of the semester. This assignment is our first attempt at combining wooden materials with a laminated material, in this case apoxy. We started by creating an arc along a melamine with 2 x 4’s cut to approximately 6 in screw into the board along the board. This is the form we will clamp our wood strips into after gluing them together. Next we took our last 2 x 4 and ‘ripped’ them into thin 1/8” thick strips which allowed us to them bend them to the shape of our arc. After applying the apoxy to each strip and putting them together, we clamped our strips to our form and left for the next 24 hours until they are dry.