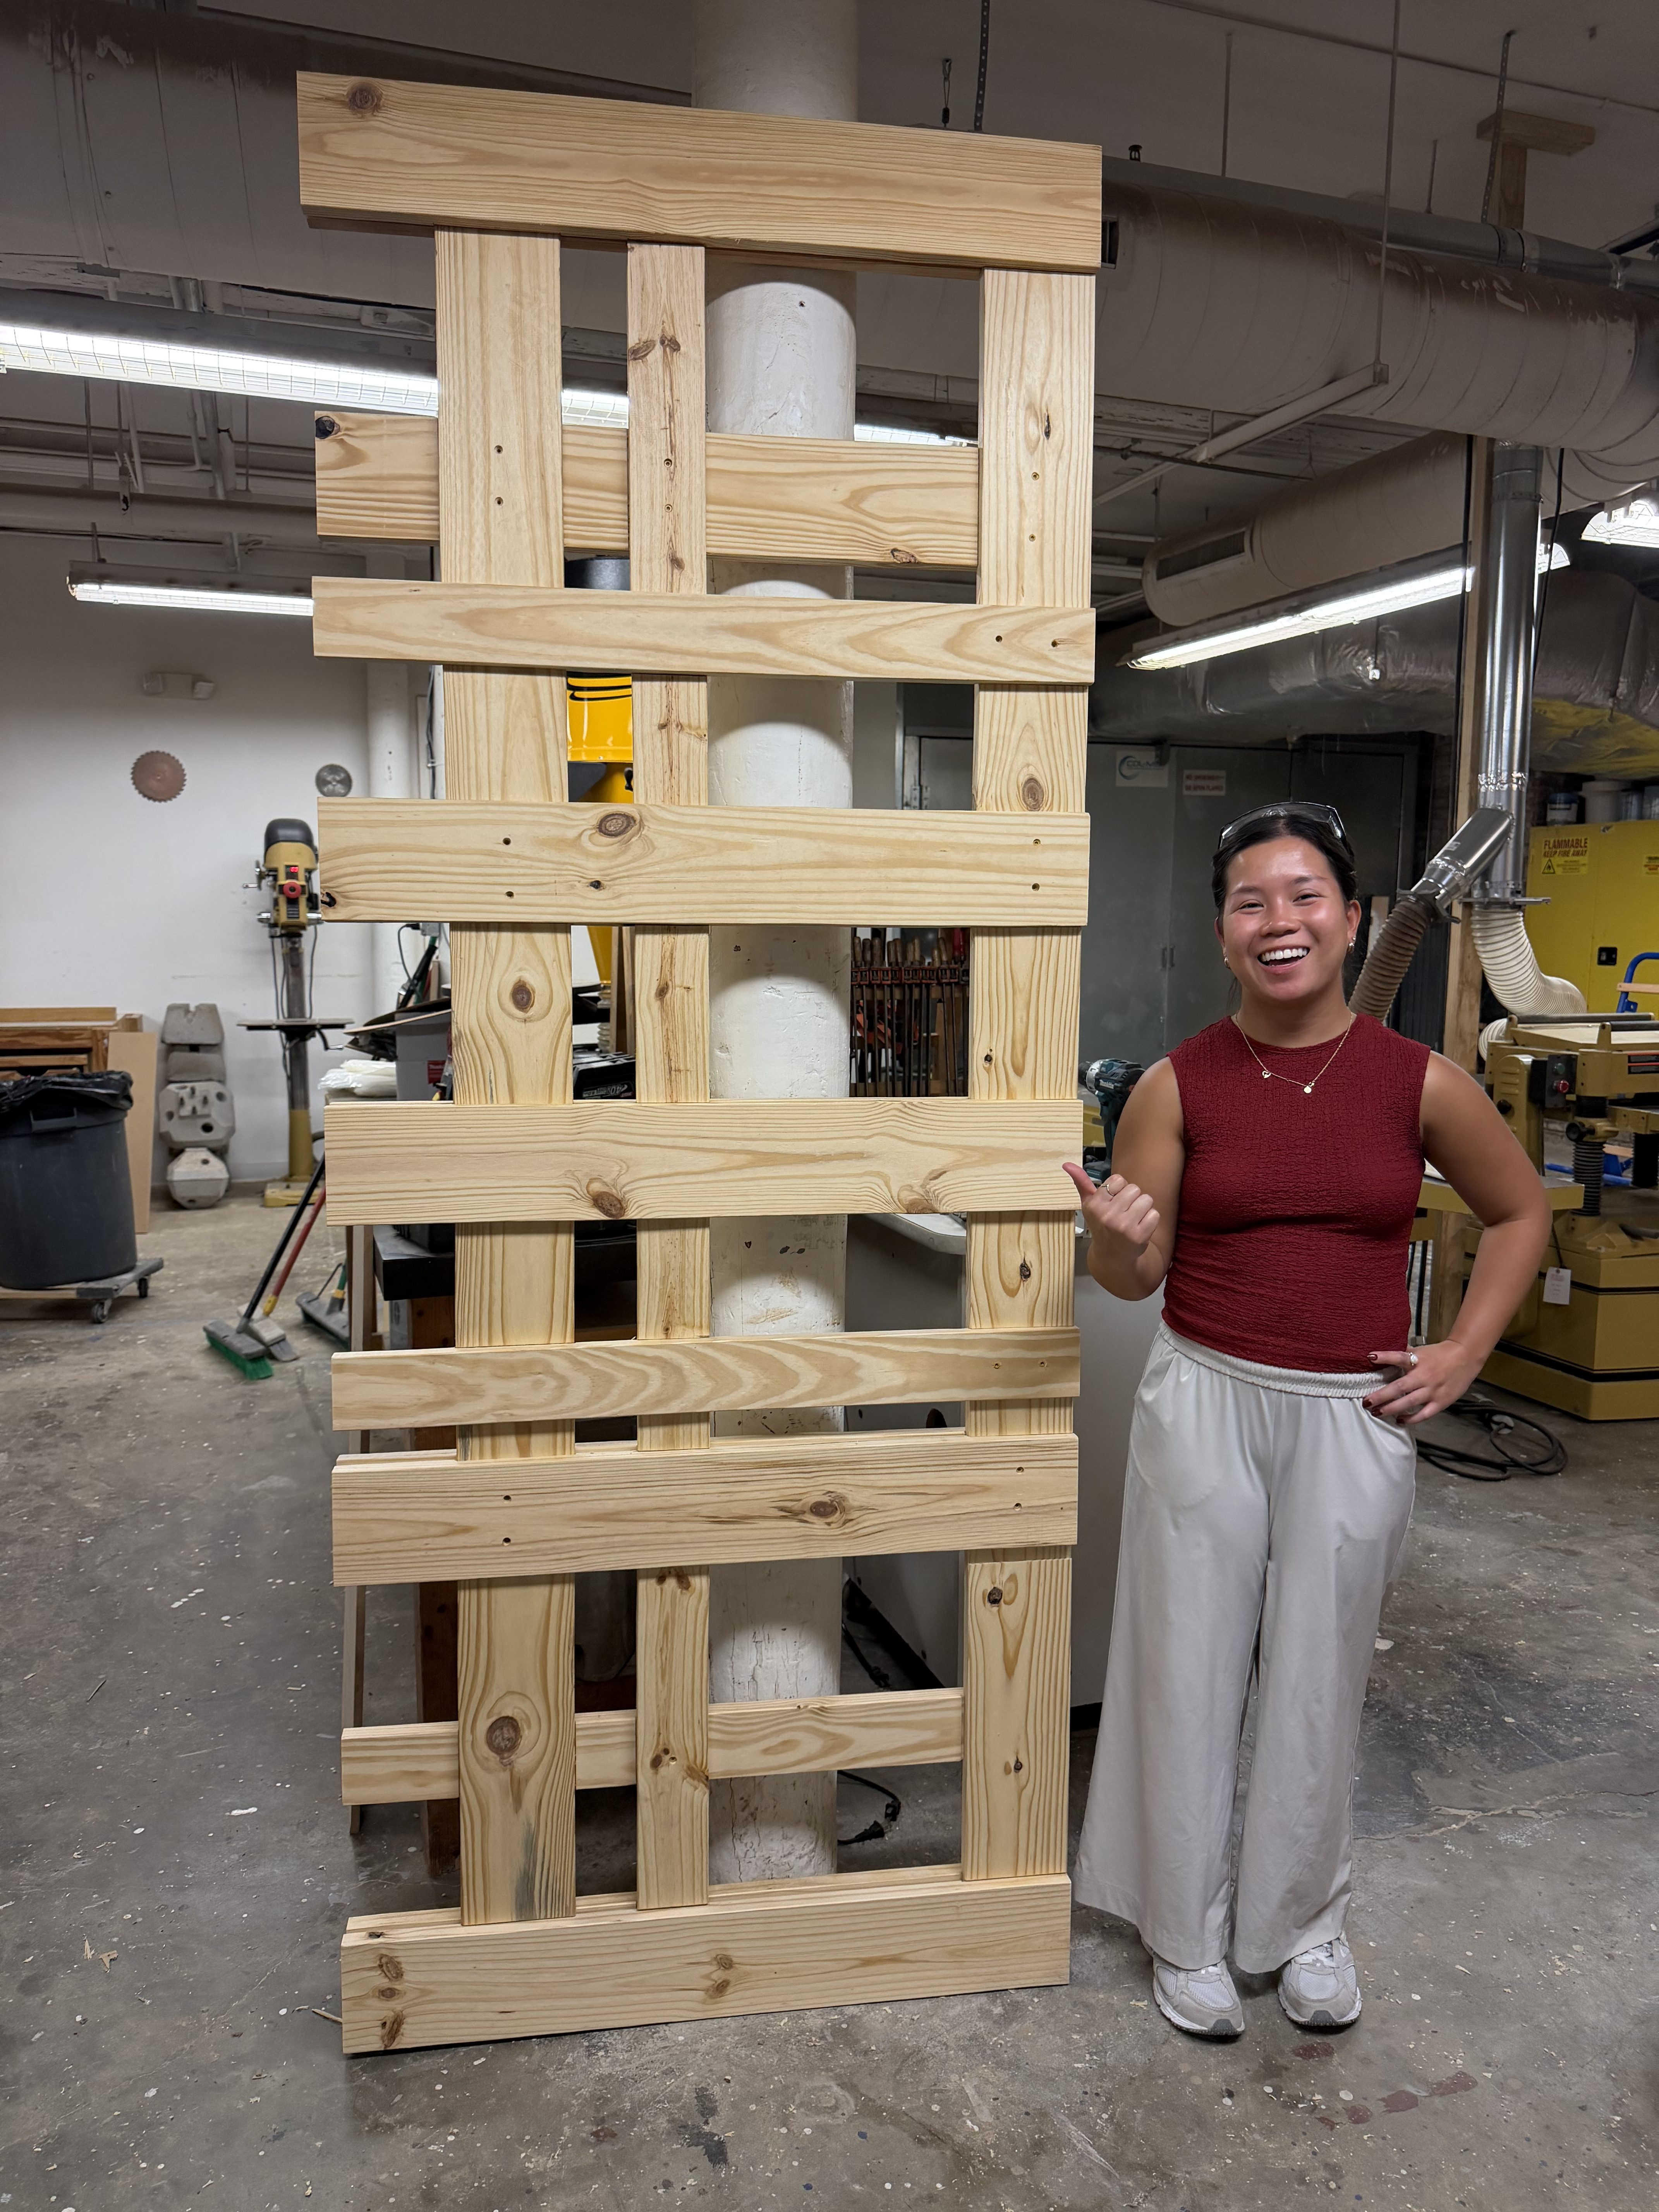
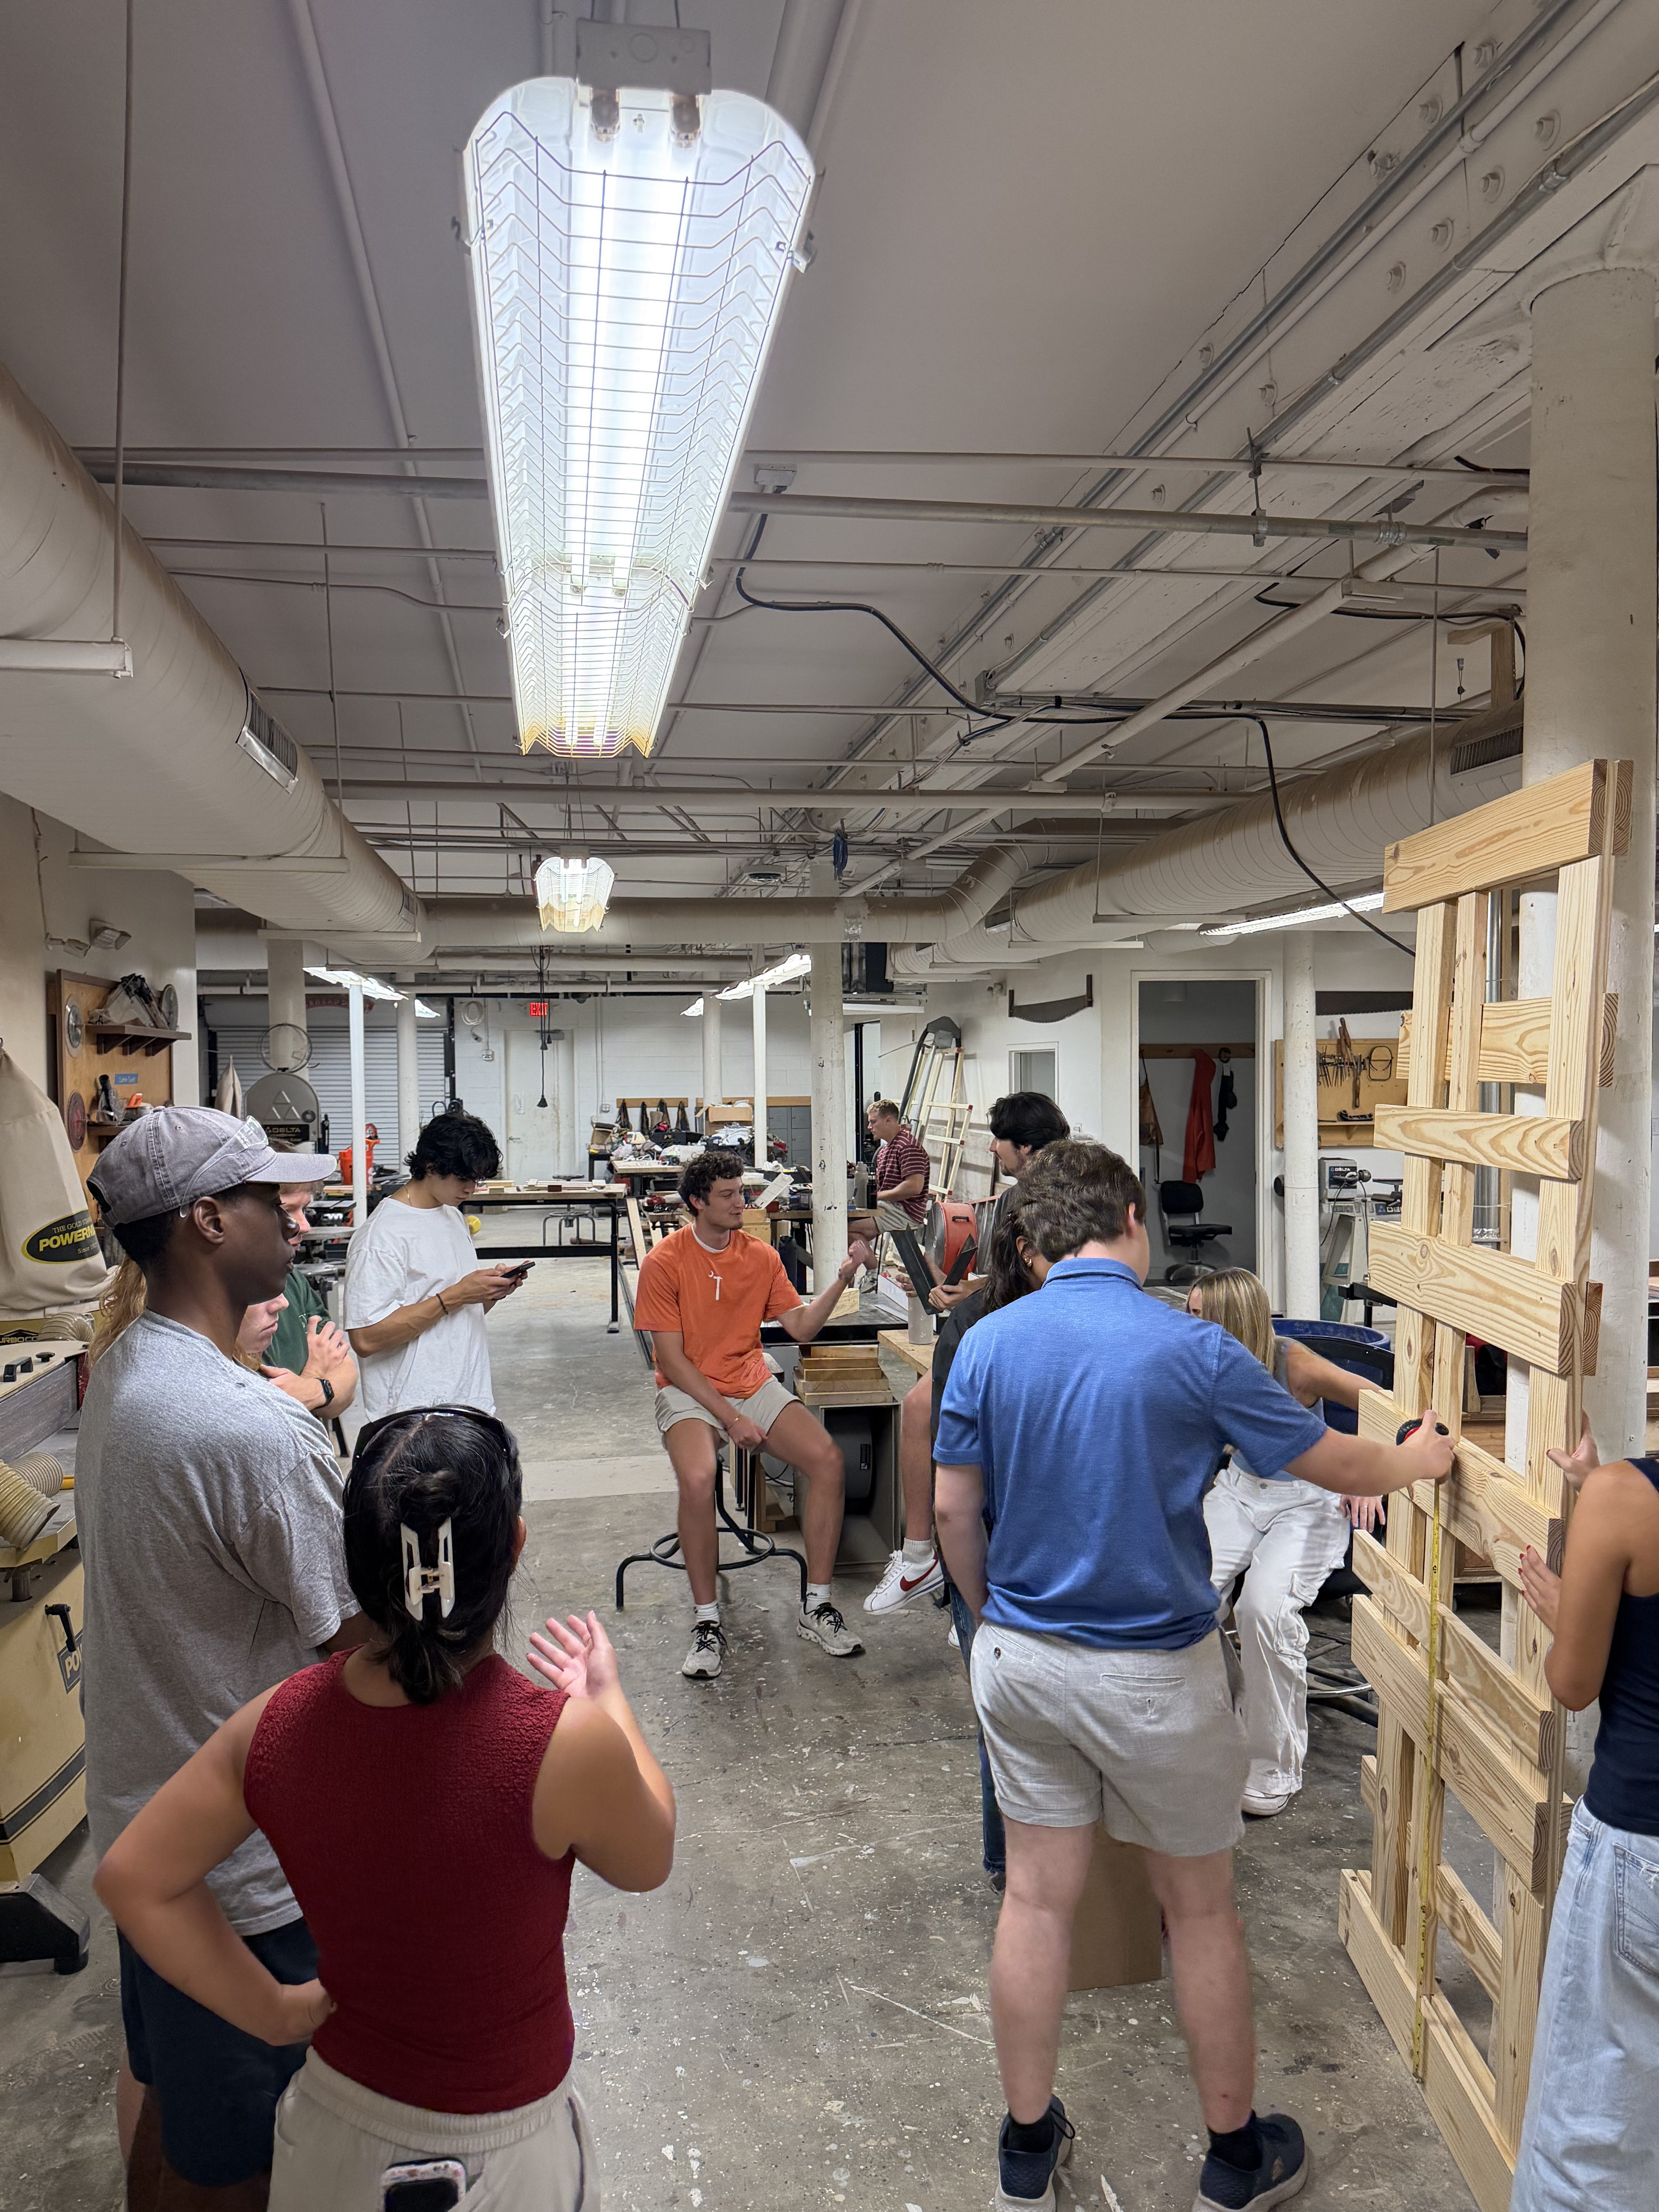
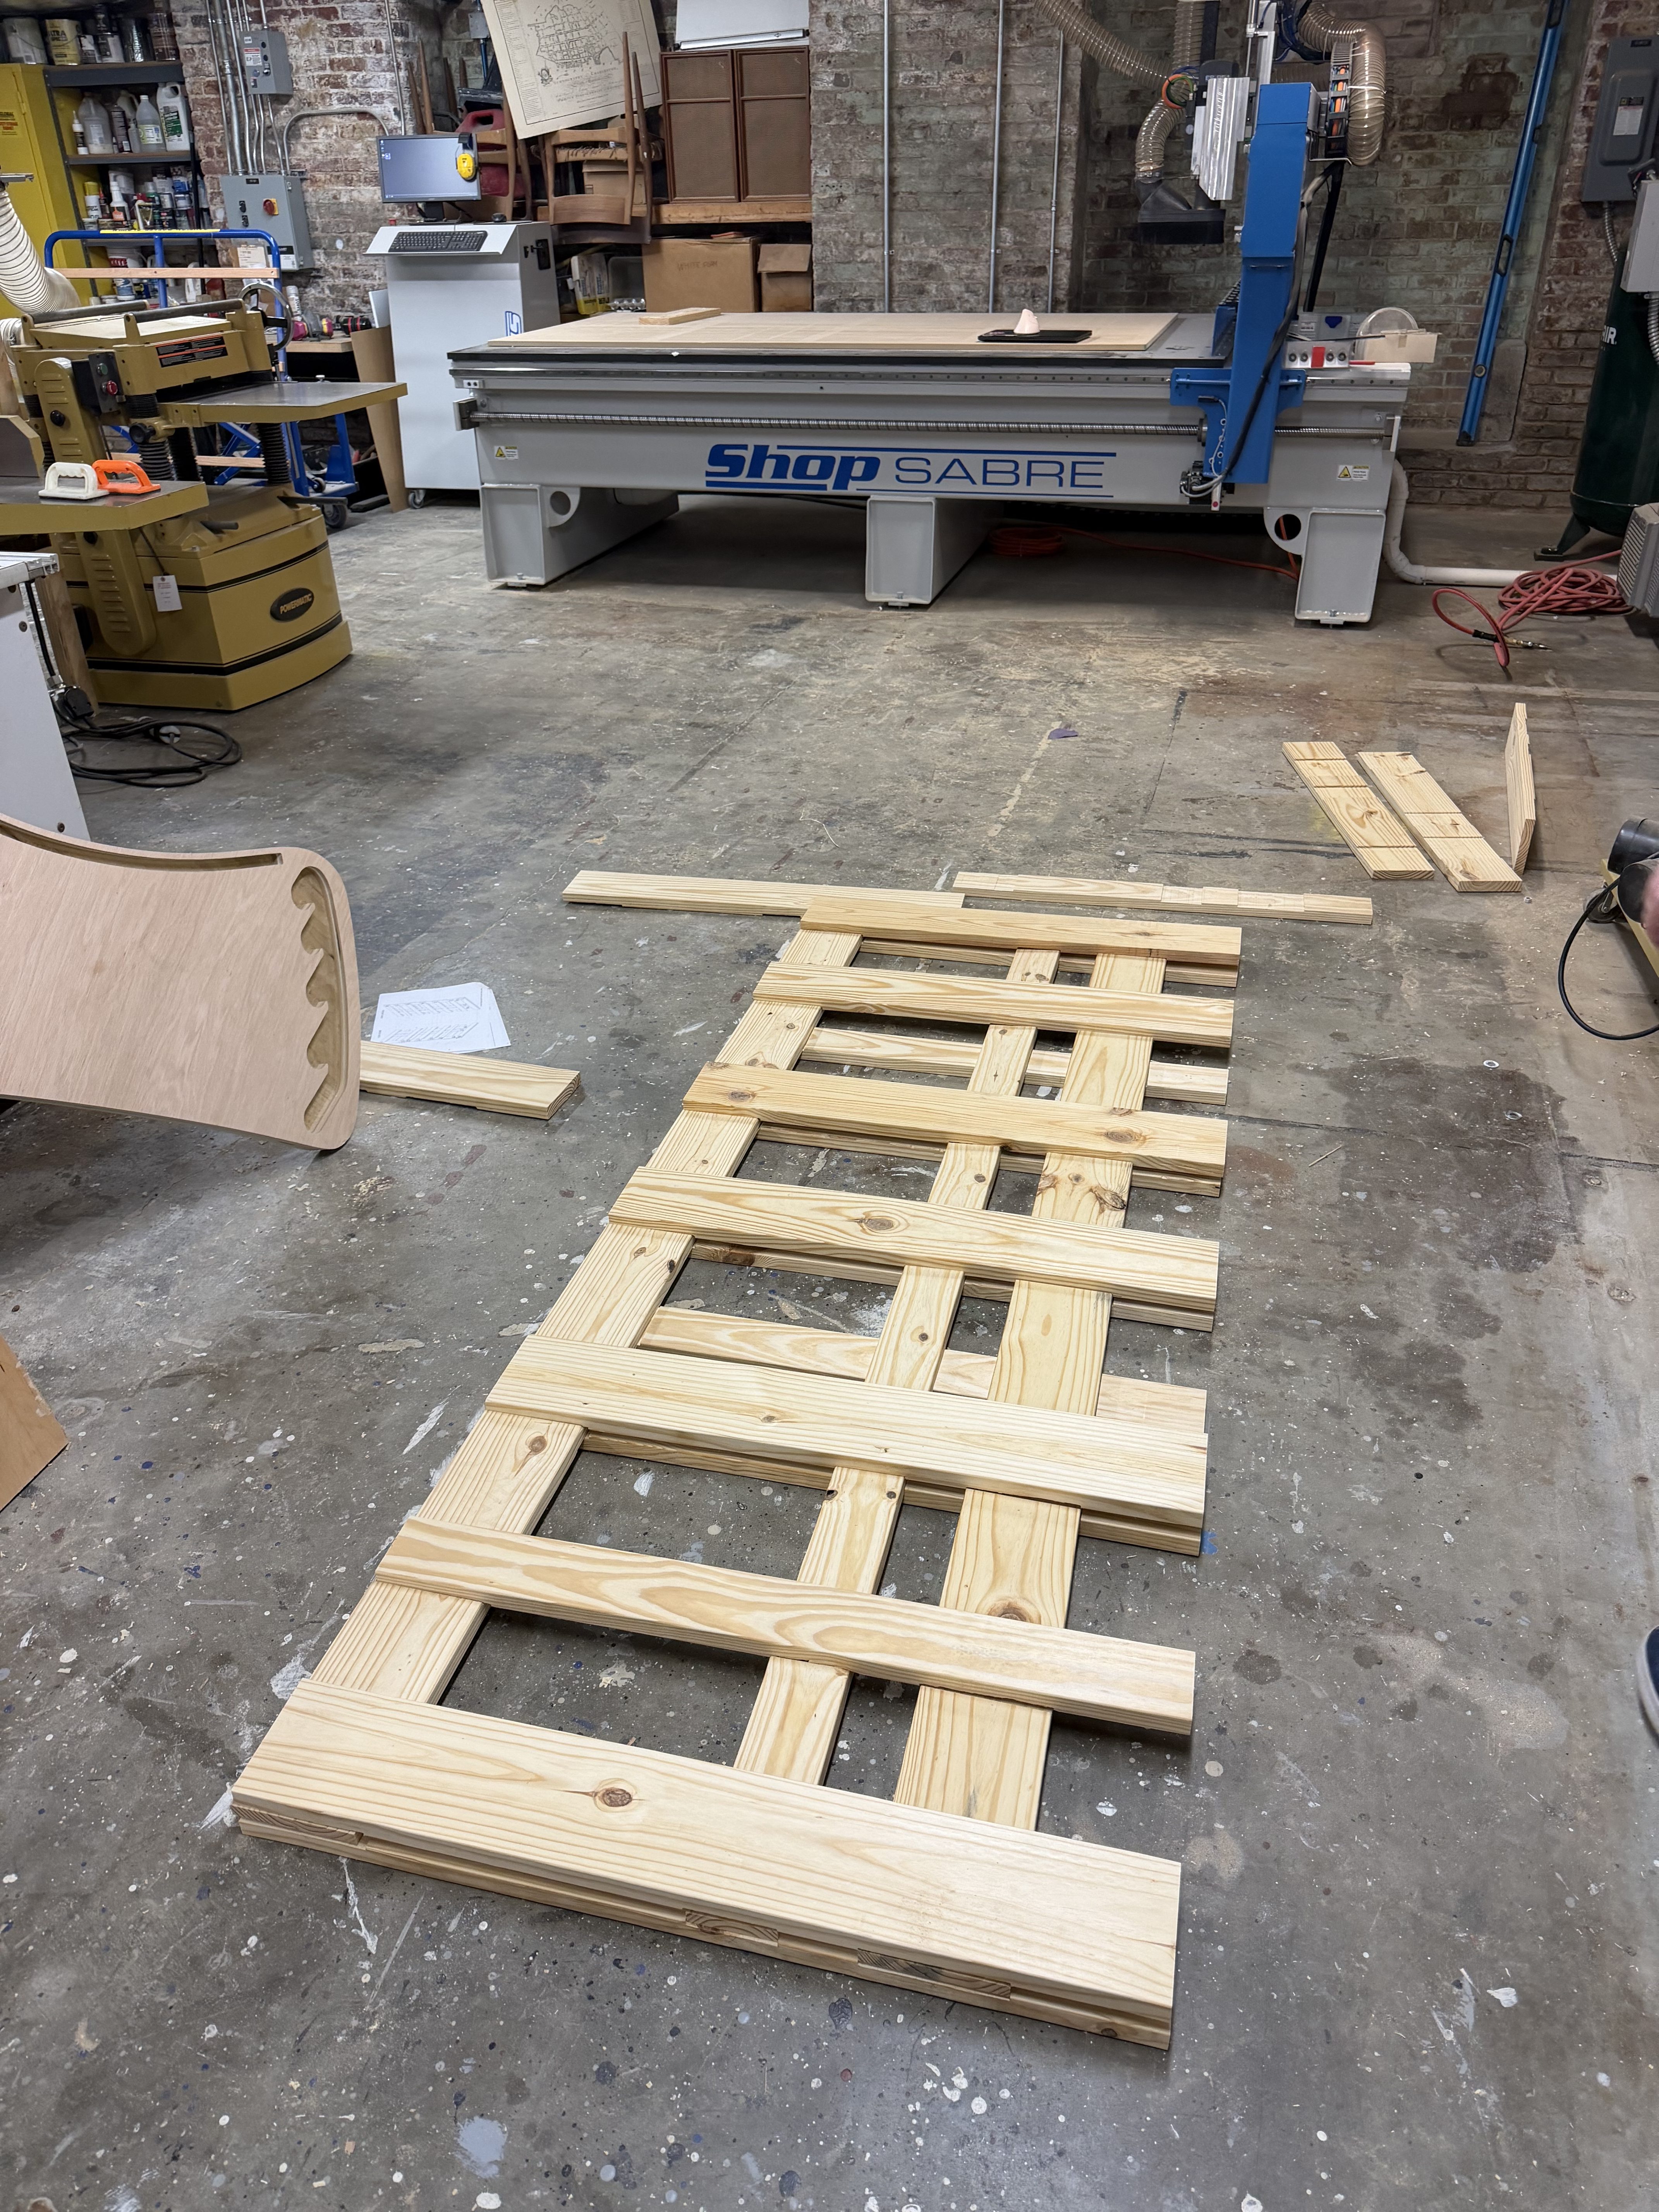
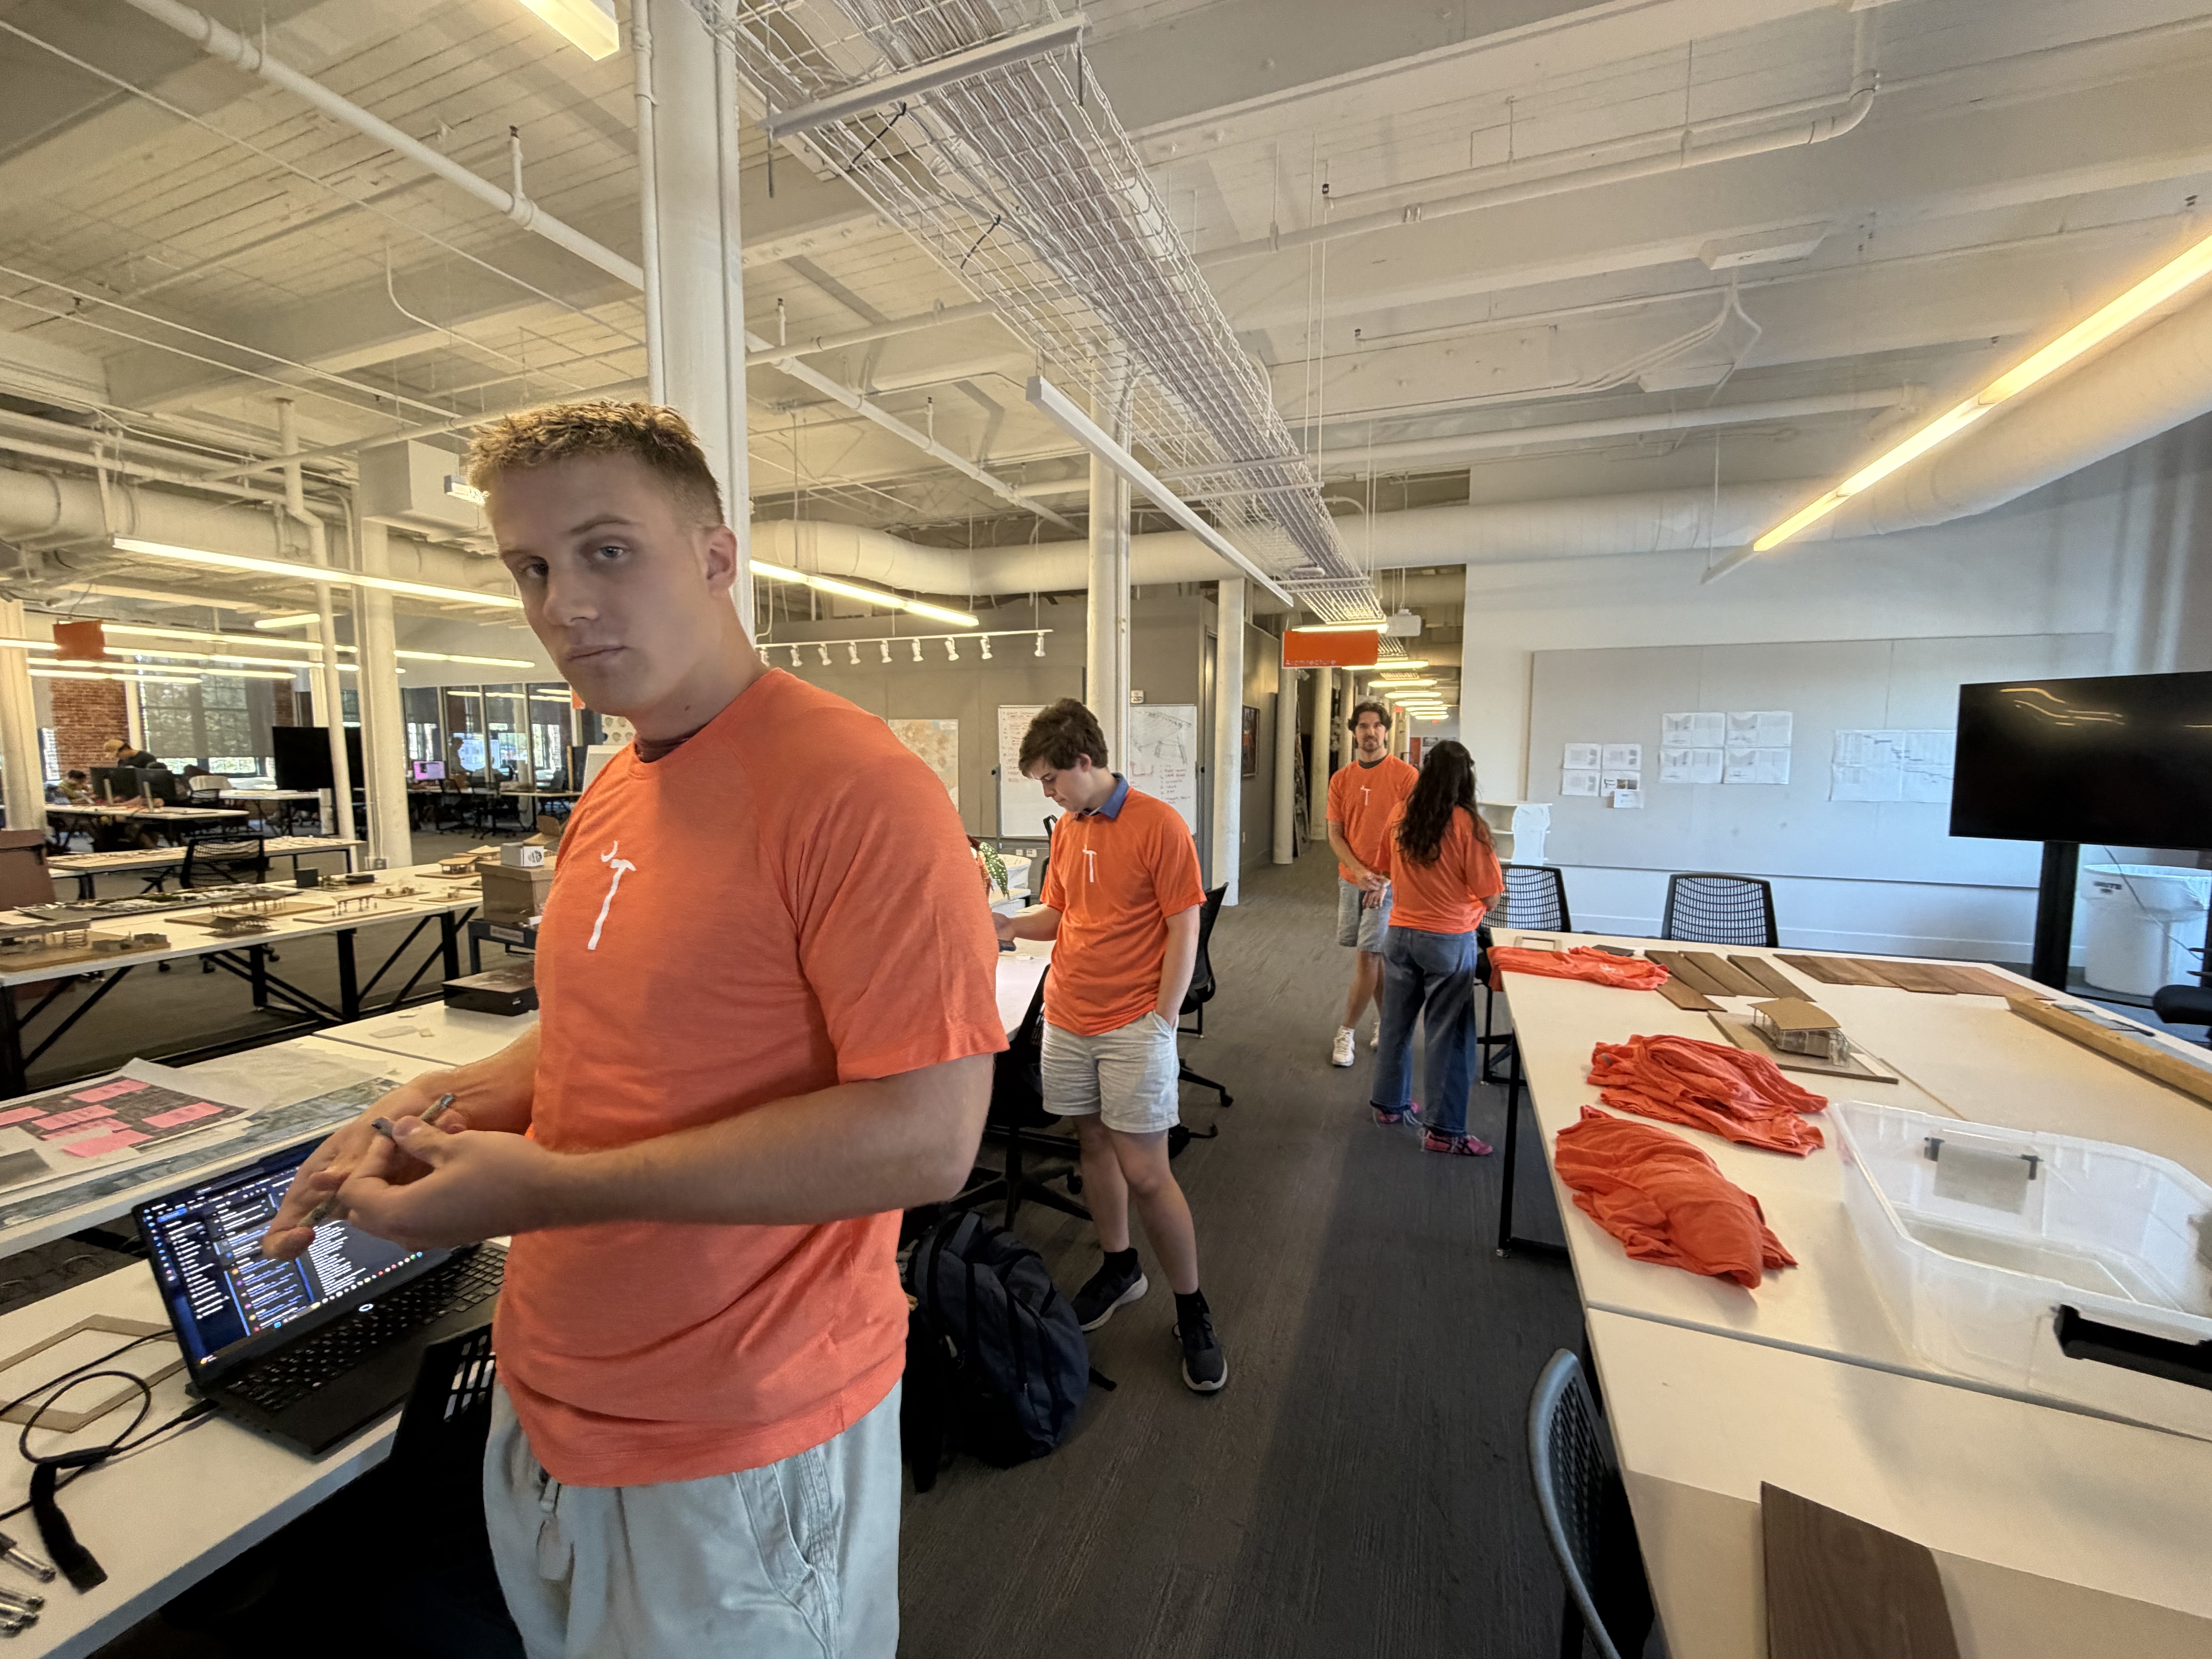
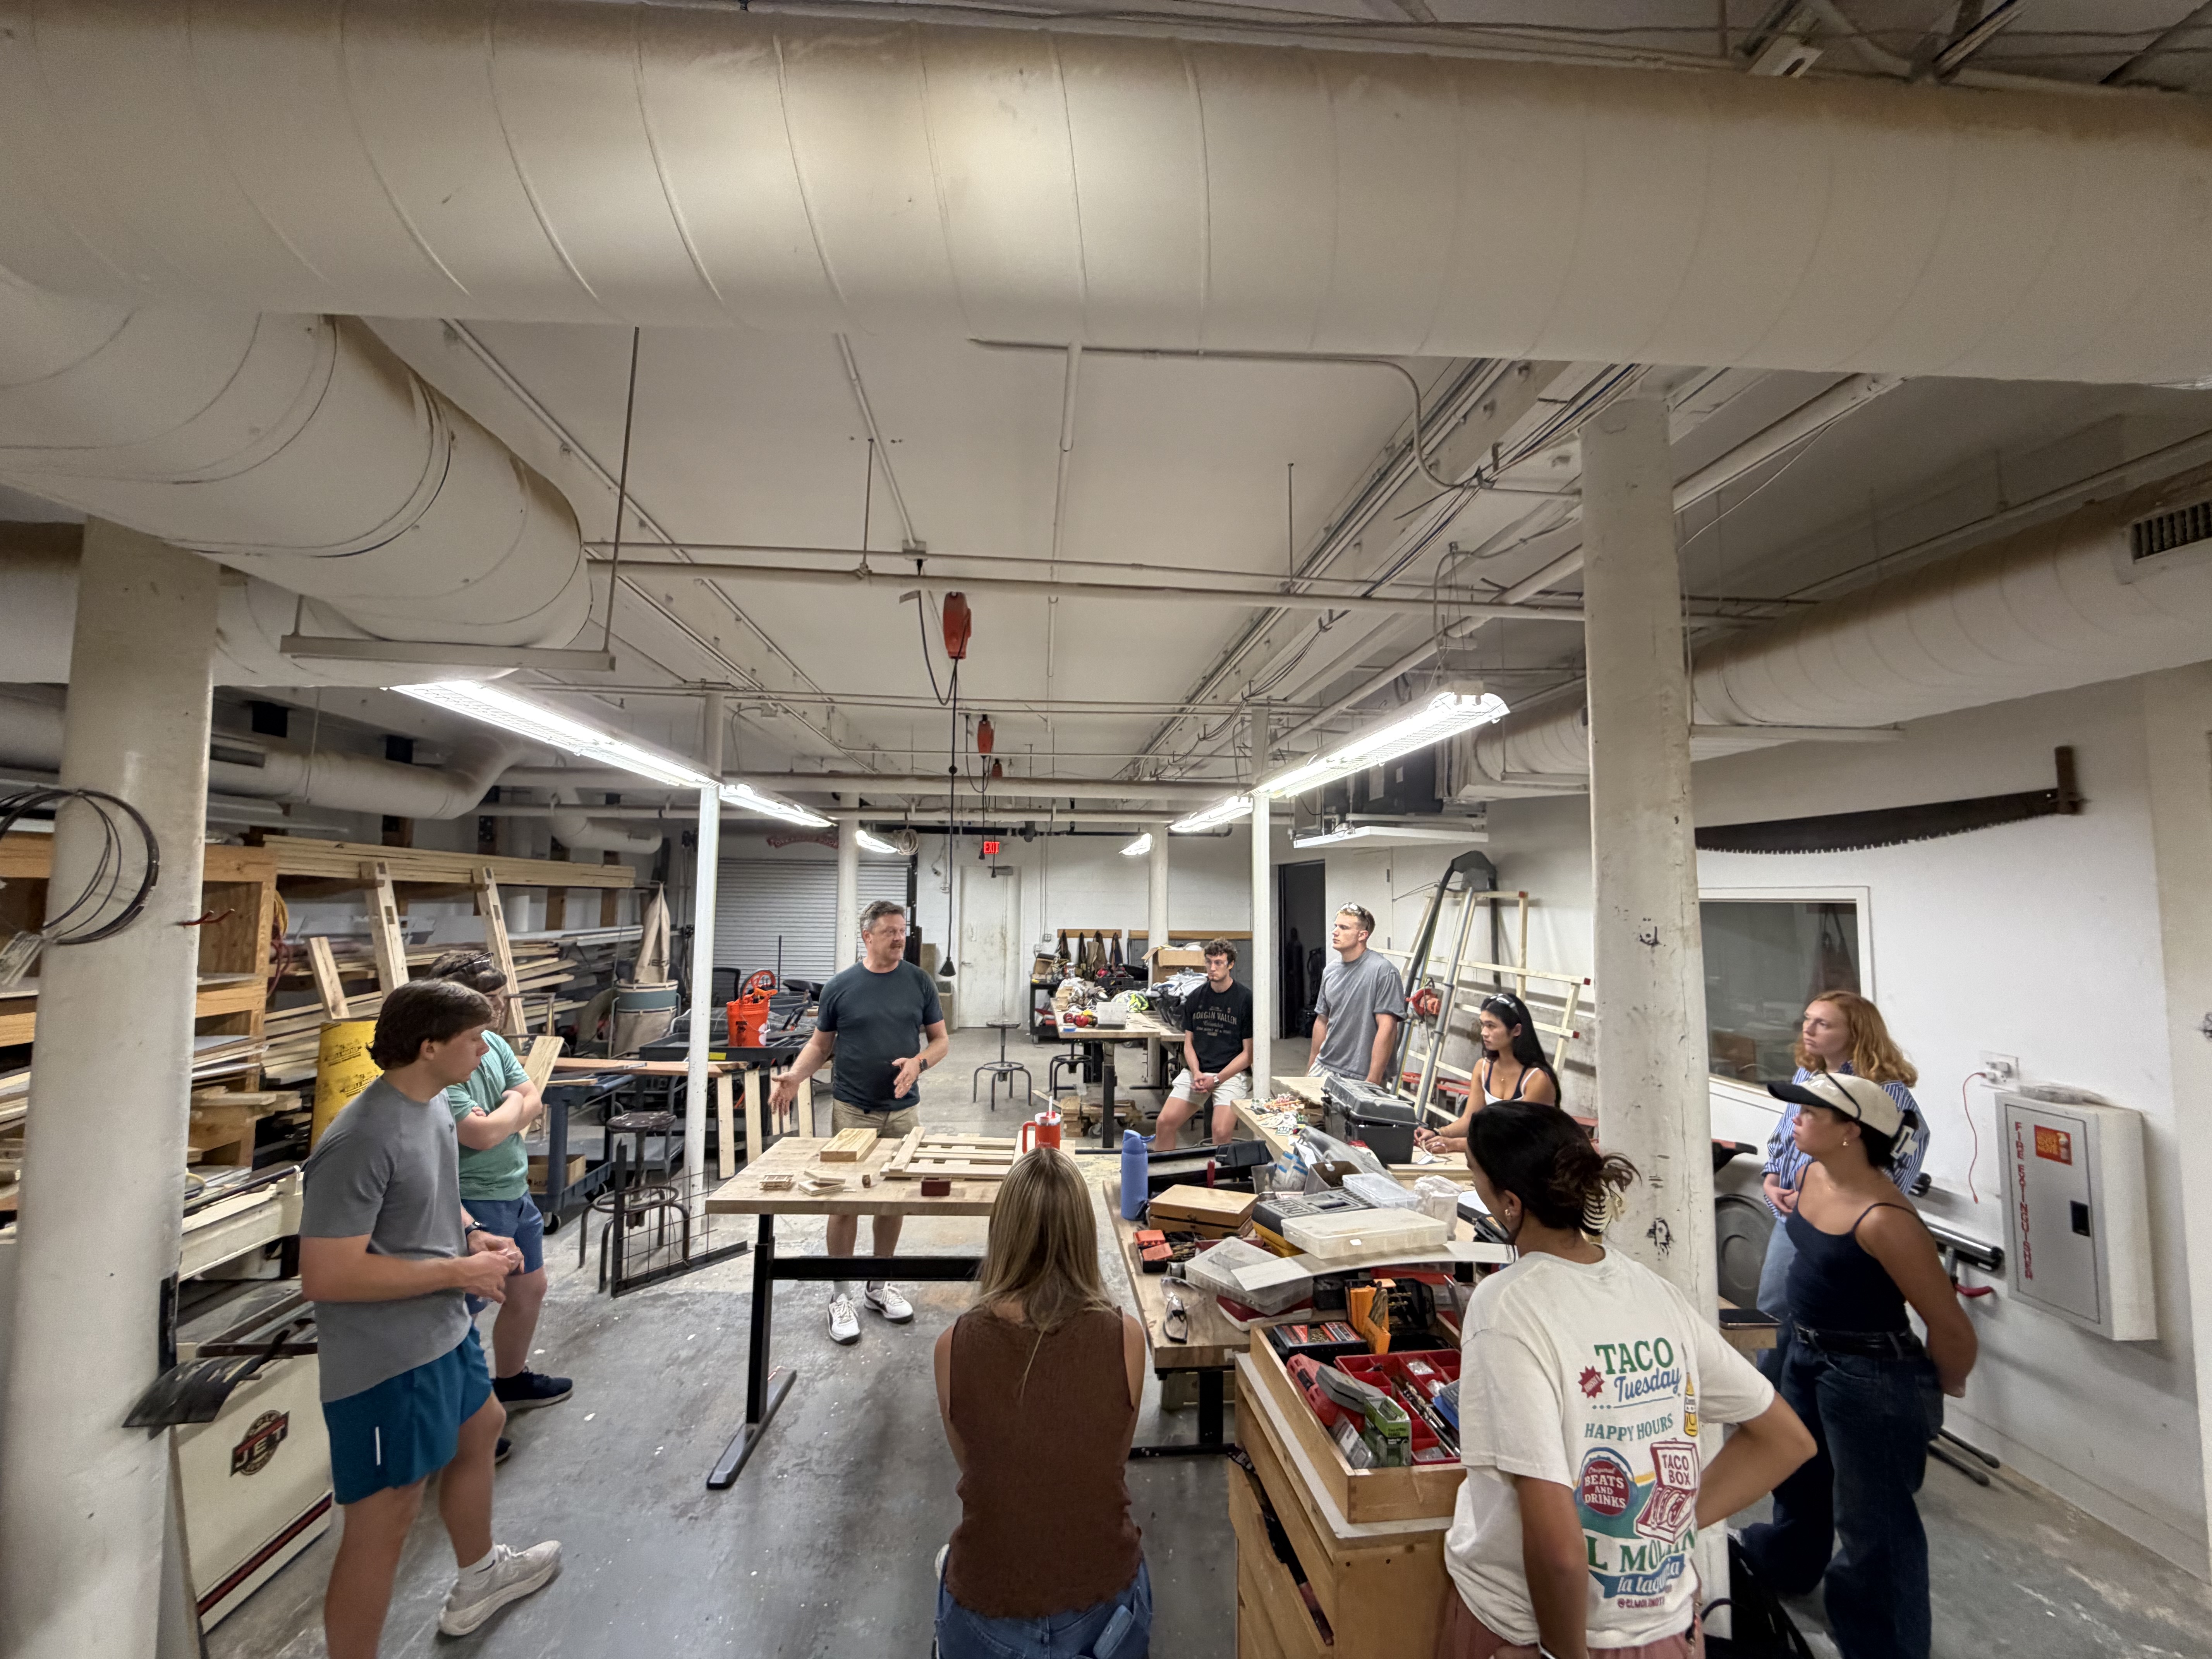
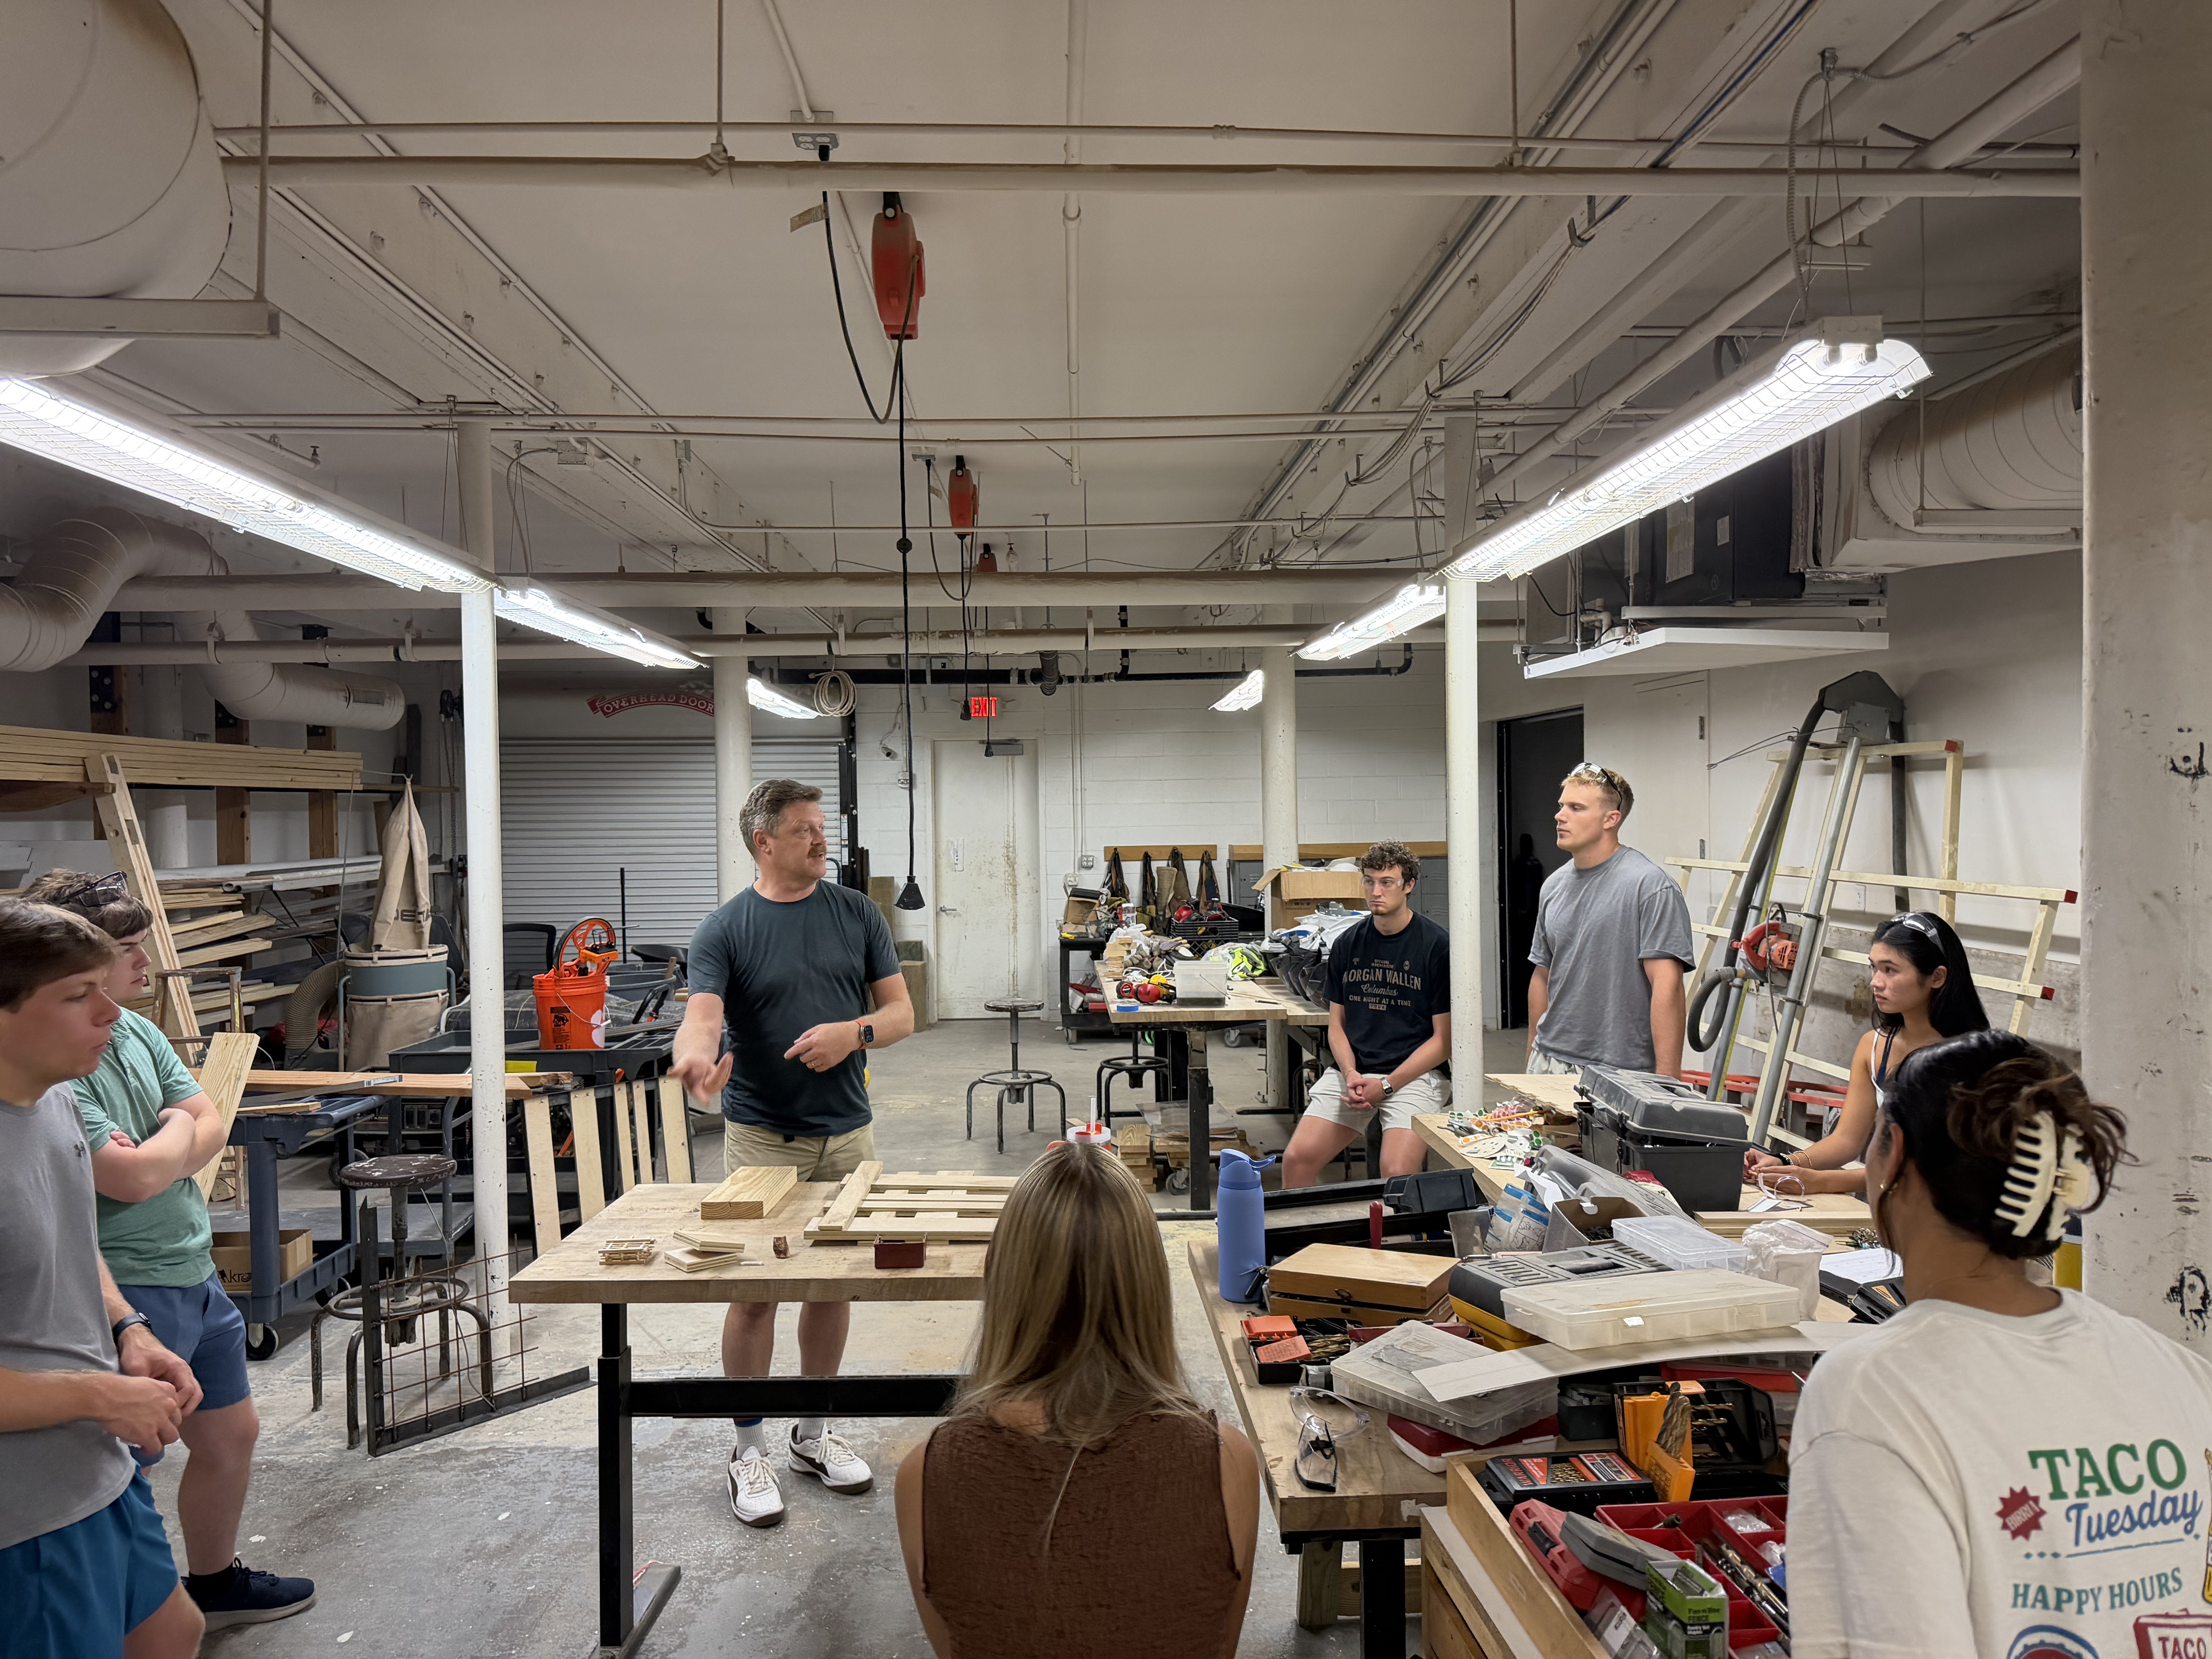
By the later half of last week, part of the class was hard at work milling cutting and assembling our first true mockup for our wall panels. (Note that the mockup we created was just a section of our wall and not the entire assembly).
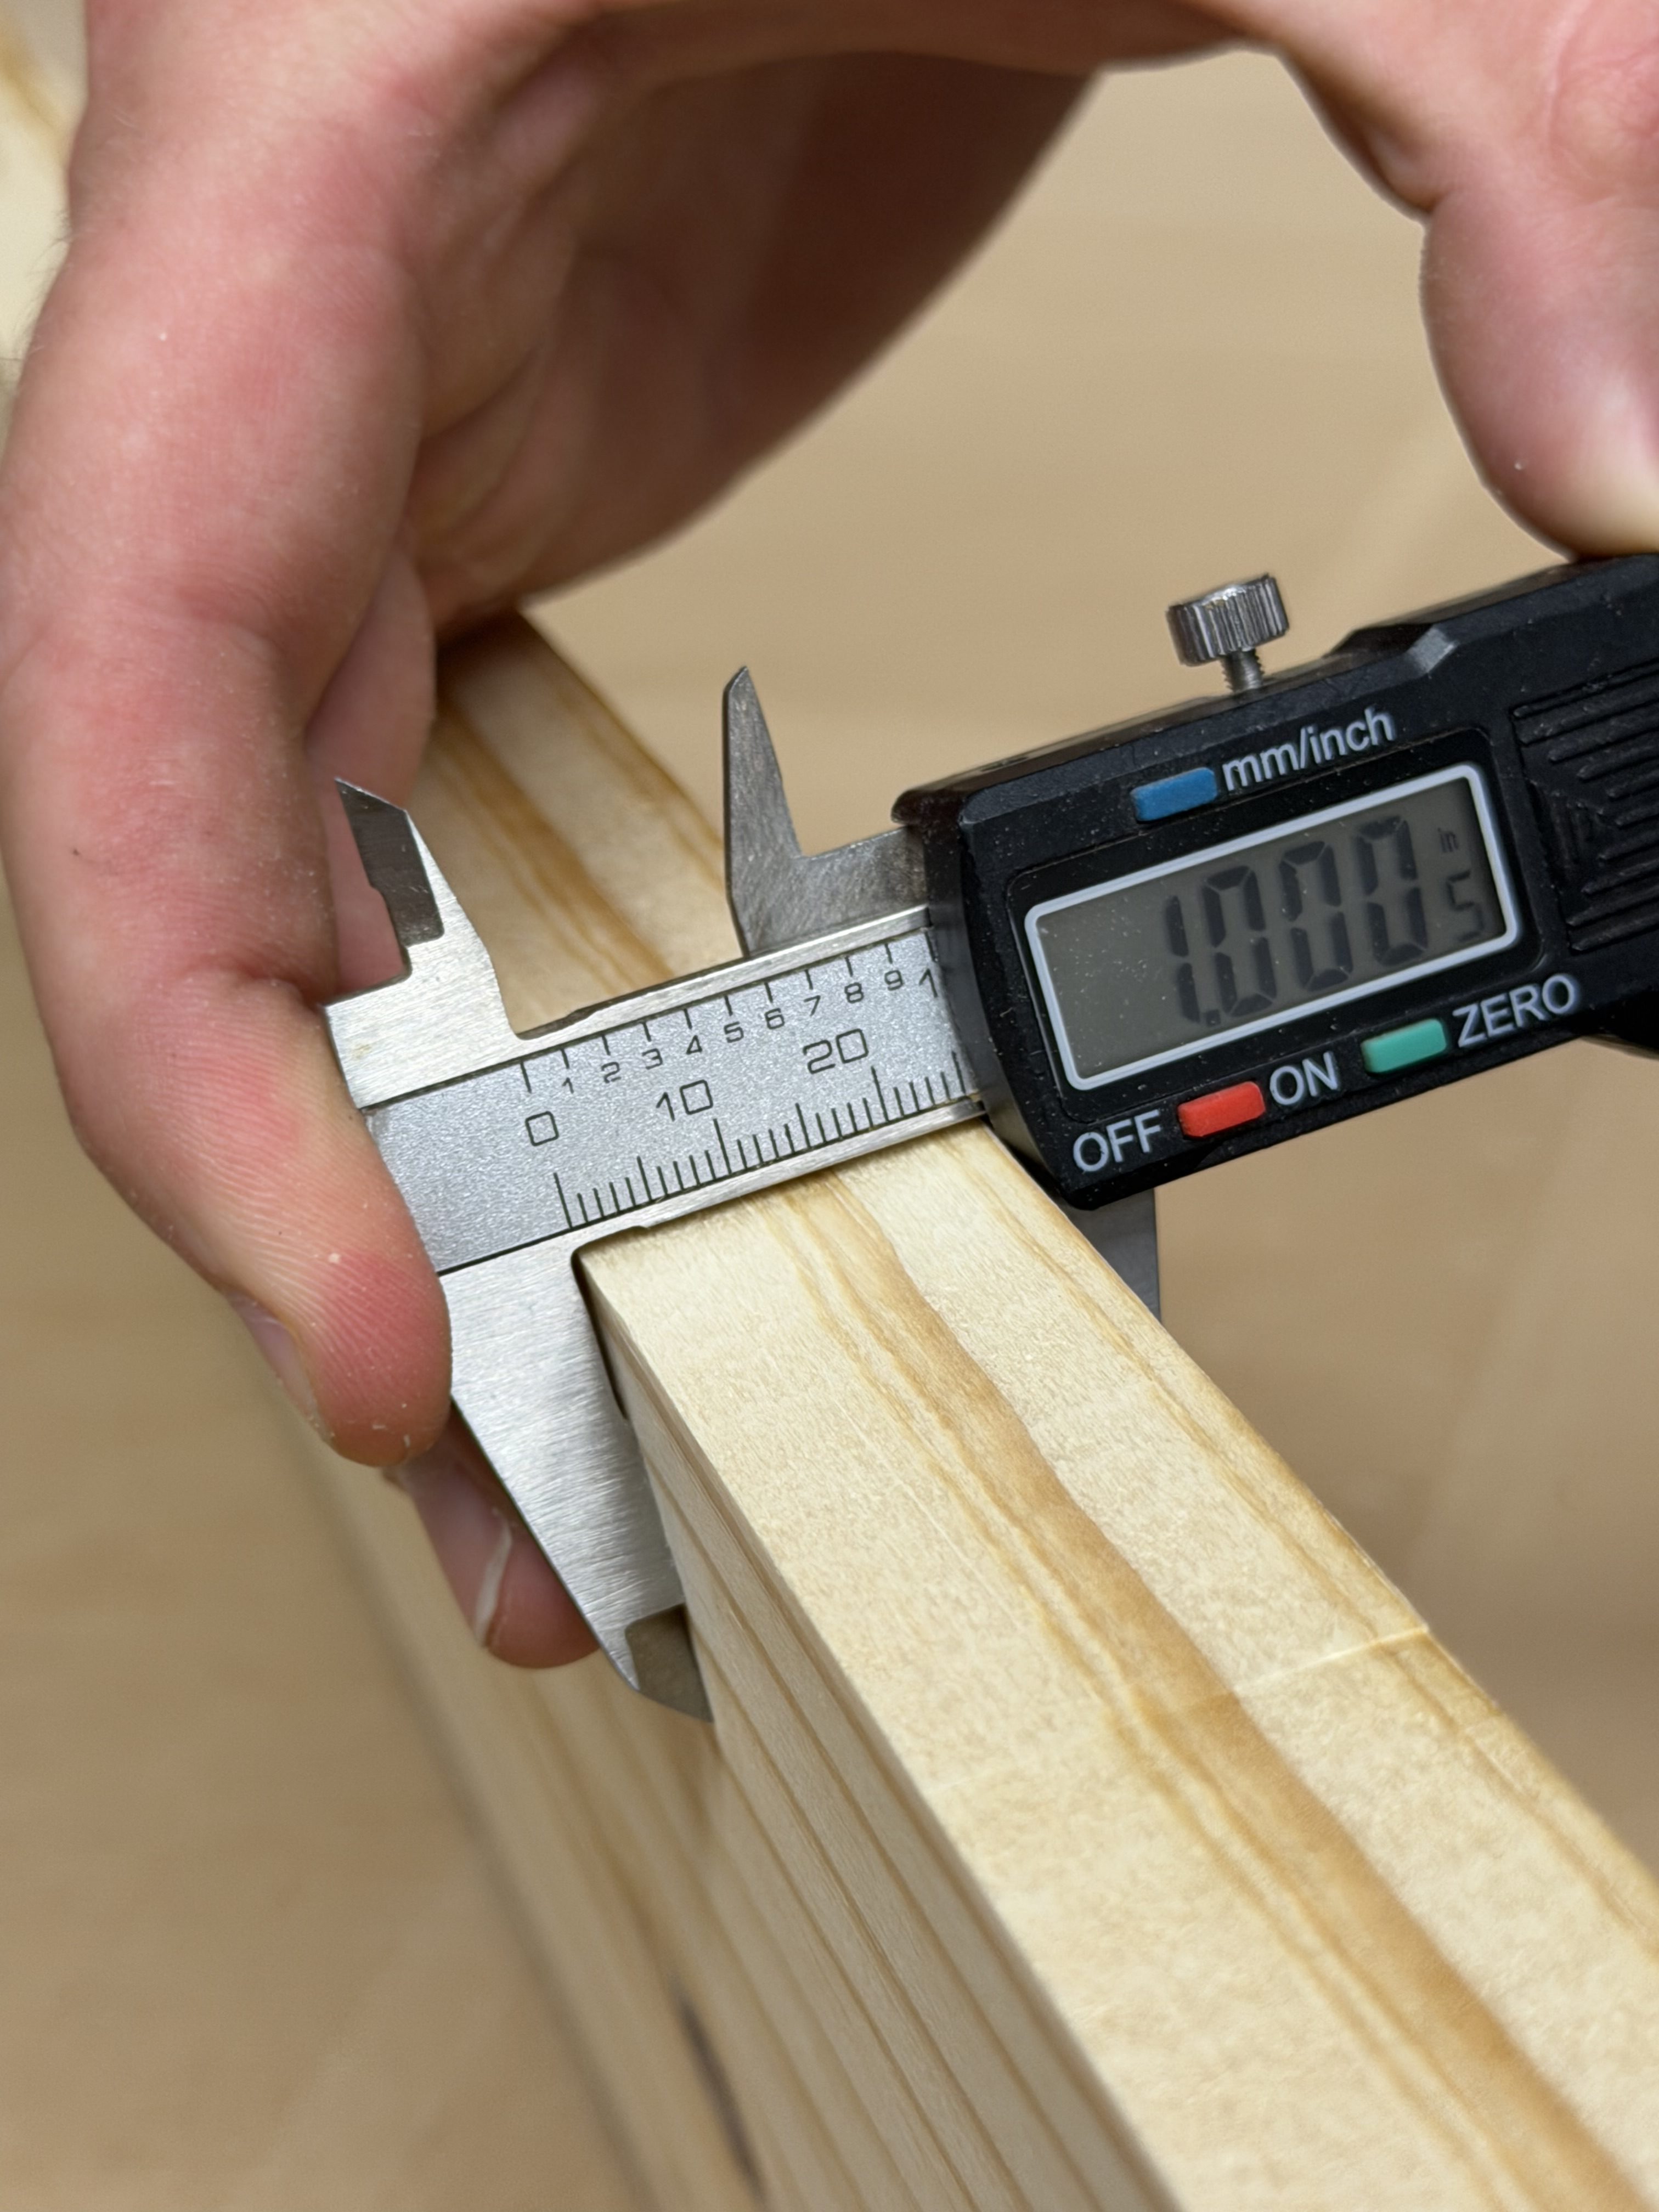
To save a little cost on materials we purchased regular 2×6 and 2×4 syp lumber and milled it down with the wood planer to get the desired thickness of 1” for all of our boards. For the purpose of this mockup, there wasn’t a need to purchase pressure treated wood just yet.
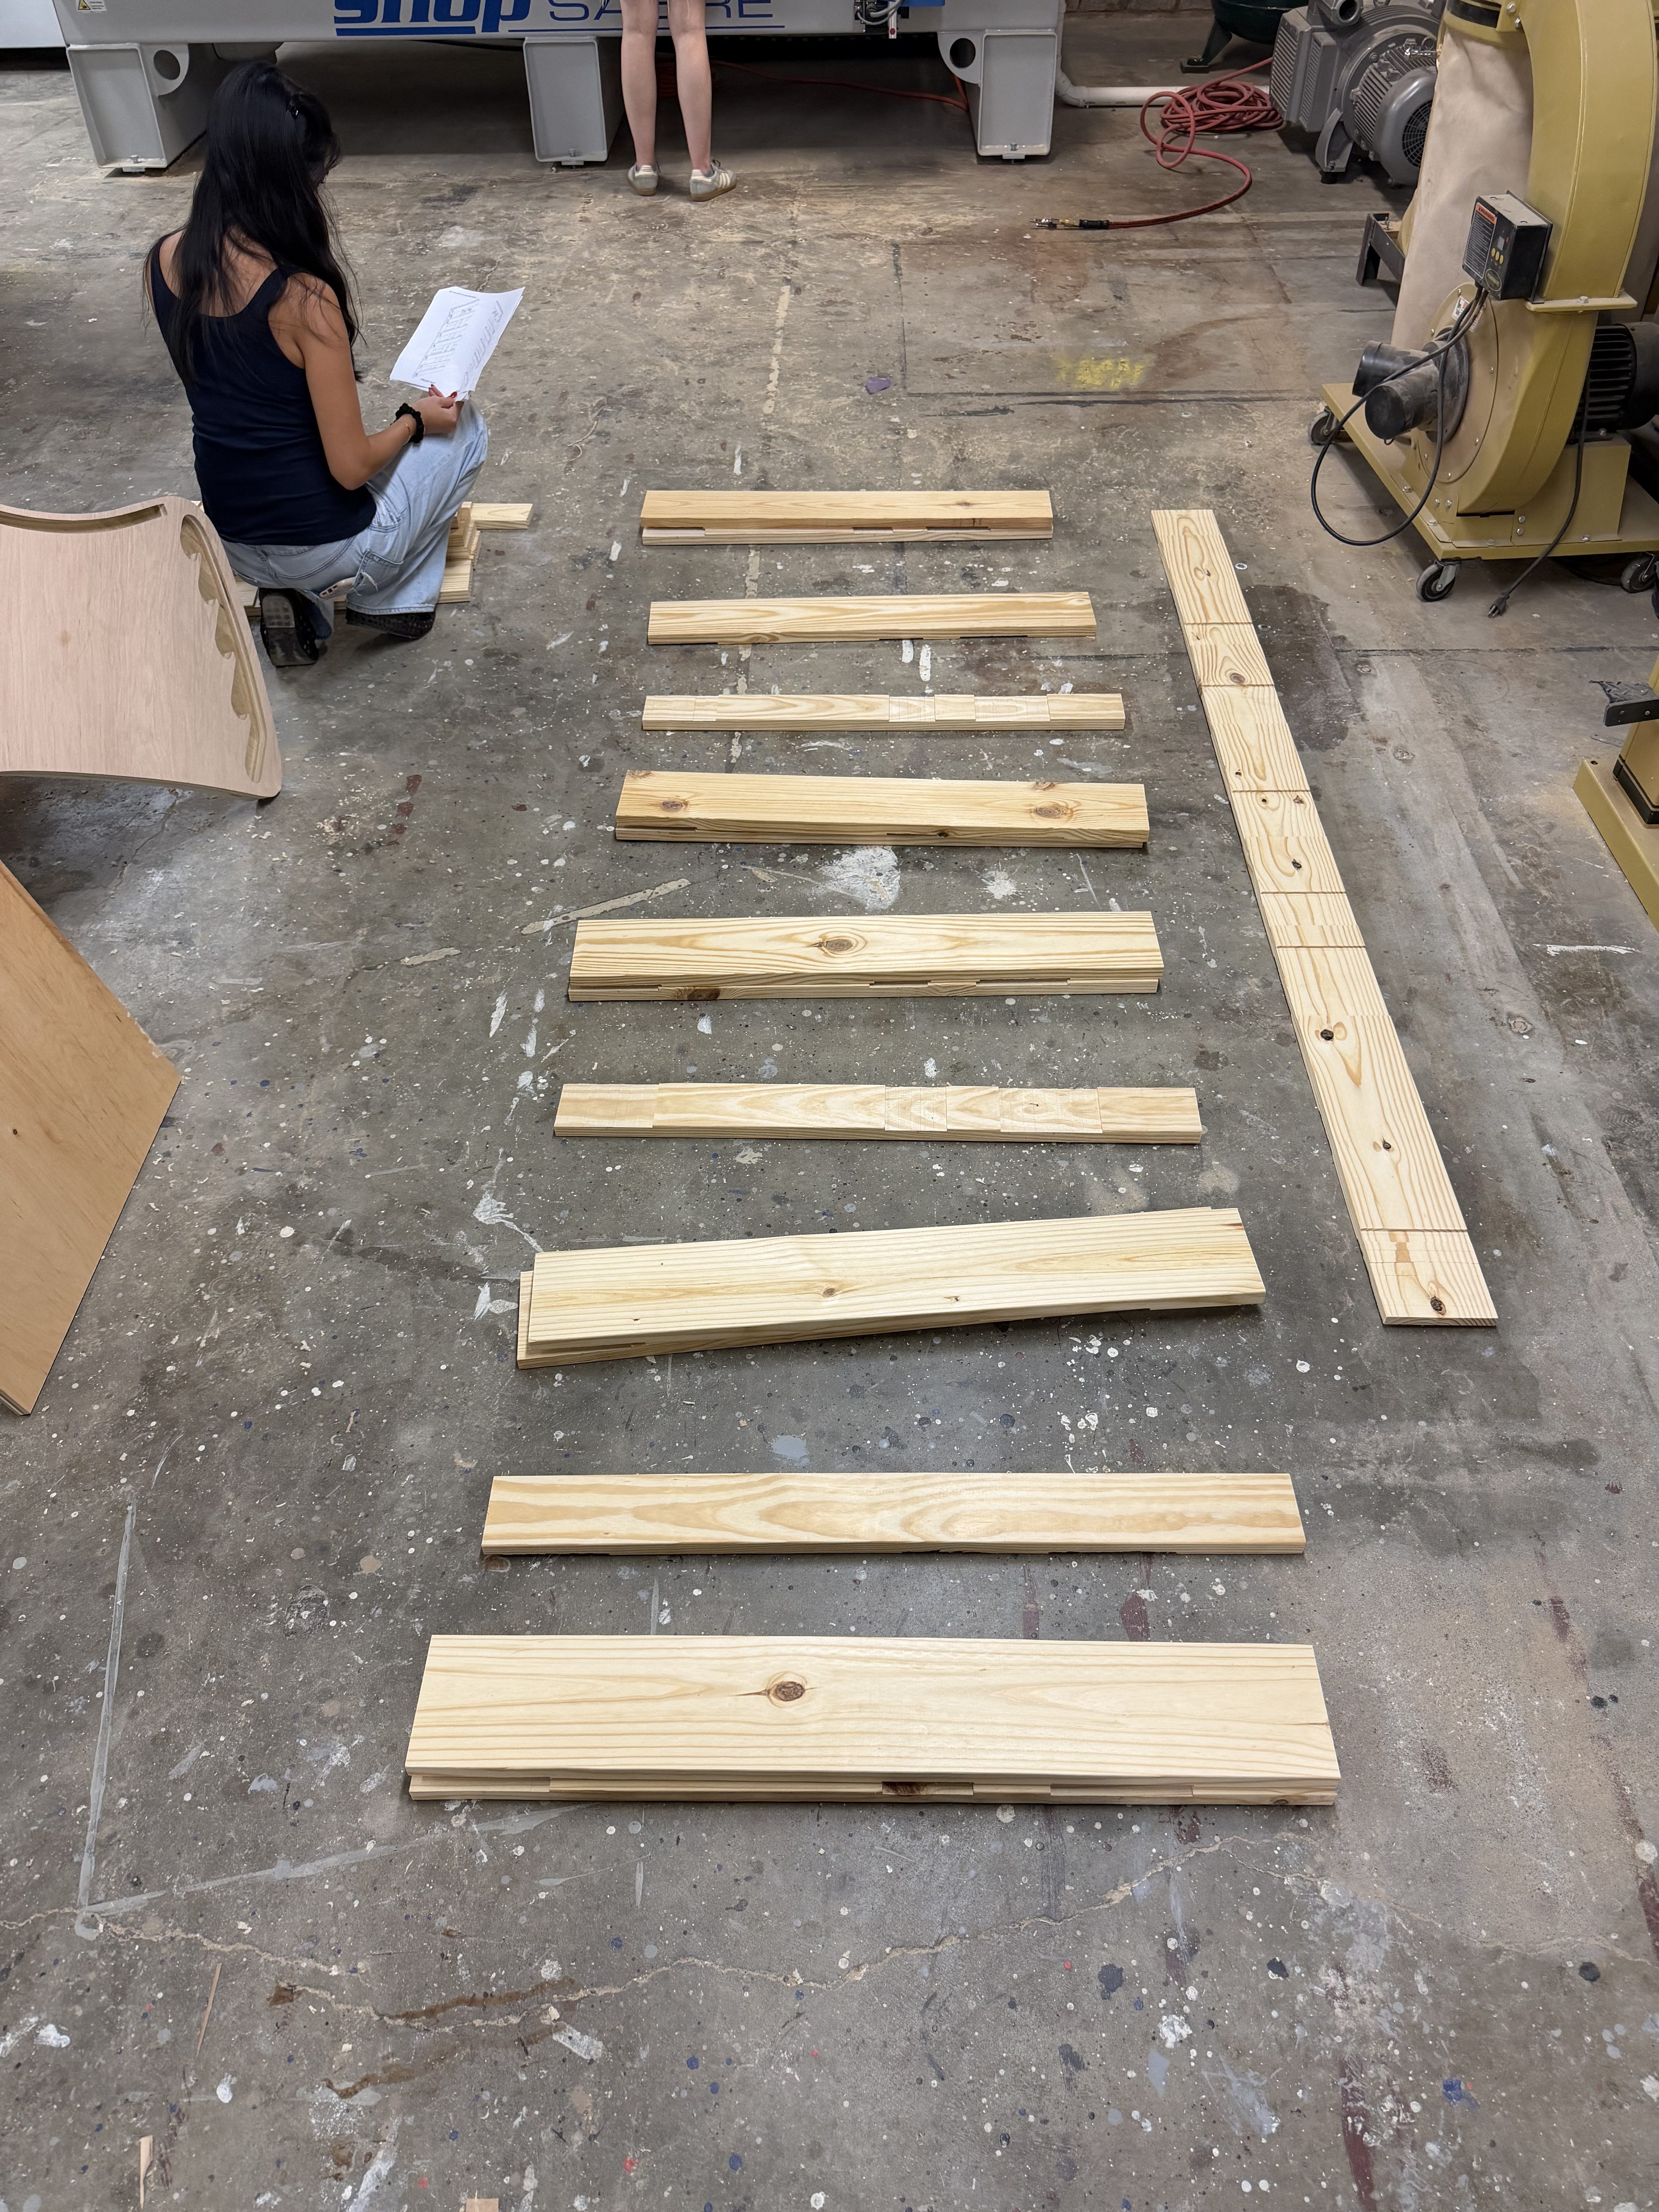
Now that we had all the boards milled down to the 1” thickness (we had some 12ft boards and 10ft boards), we chopped them into the final lengths with the miter saw. The longest 3 boards that we cut were 7 1/2 ft long, and the remainder were cut to 3ft lengths.
We then had a team measuring out where the notching would be on all of the boards.
Once measured, the boards were passed to a team that cut 3/16” notches out on all of the boards. This was done with the Dado blade set on the table saw with a sled.
Now that all of the pieces were notched and cut, we laid everything on the ground and began to assemble the boards in the interlocking pattern that we came up with to create a weaving effect. After squaring everything up, drilling pilot holes, and putting in the screws (alternating them on either side of the joints), we had a final product that we were happy about.
After building the mockup – we agreed to adjust the notching depth for the future so that we don’t have any gap between the two outer boards. The back sides of these boards will be flush with one another meaning that each of the boards including the middle board will get a 1/4” notch.